The first step is to sign into your Trajal gmail account. Once you’re signed into your gmail account, you’re going to find the drive, by looking in the top right-hand corner of the screen. Click on the box made up of 9 dots, and click on the triangle named “Drive.” This opens your drive, your online Google memory storage.
To open Google Slides, click on the red button named “New” and then click on “Google Slides.” This opens your slideshow maker. At the top, name your project.
Your first task is to create a title slide with a title and your name. To enter your title, click on the box on the slide that says “Click to add title” and type in your title. To add your name, click on the box that says “Click to add subtitle” and type in your name.
Your second task is to create a slide with a title and body text. To do this, click on the + sign on the top left-hand corner. This should open up a new slide. To add a title for this slide, click on the box that says “Click to add title” and enter your title. To add text to your slide, click on the box that says “Click to add text” and enter in your text.
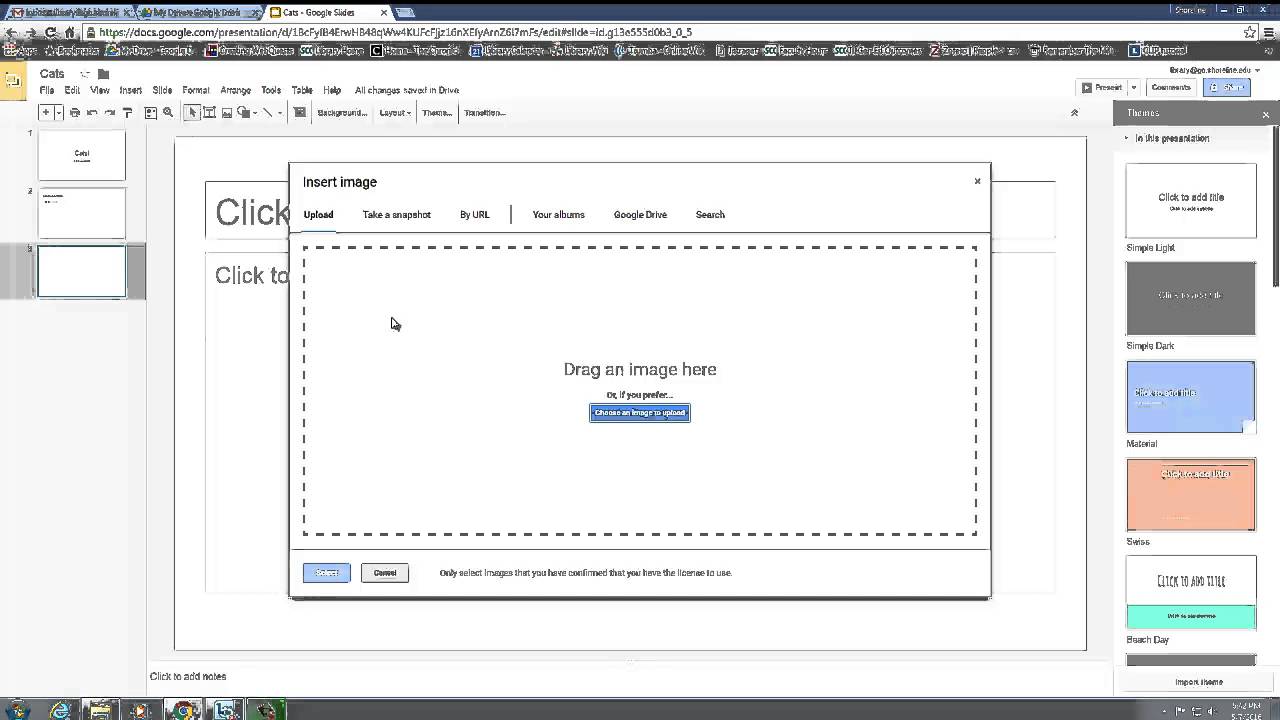
Your third task is to create a slide with a photo in it. Click on the + sign again to create a new slide. To insert a photo, click on “Insert” on the top and then click on “Image.” This will open up a window that has many ways for you to upload your photo. For this tutorial, let’s upload a photo from our desktop. In order to do this, you will need to minimize your window. Select your photo from the desktop and drag it into the “Insert image” box. This will open your photo in Google Slides. You may want to make your photo smaller, so that it fits neatly within the slide.
The next step is for you to “share” your folder with your teacher or classmates. You’re going to click on the blue “share” button on the top right corner. You want to make sure the box on the right says “can edit” so the person you’re sharing this with can change what’s in the folder. Edit means that they can add more people or write comments if they need to.
In the “people” box, you will put your teacher’s (Kent) email address and then you will click “send.” This is step one of what you need to know for using Google Slides for your class assignment.
If you have any questions, please visit us in the library. We’re happy to help!