This is a collection of millions of websites and YouTube channels which will allow you to reach billions of people and promote your listings to them.
Table of contents:
0:00 – Introduction
2:11 – Create our Teespring listing
17:38 – Create our Google Ads account
20:13 – Set up Teespring + Google Ads tracking
25:38 – Create a deadline and promotion code
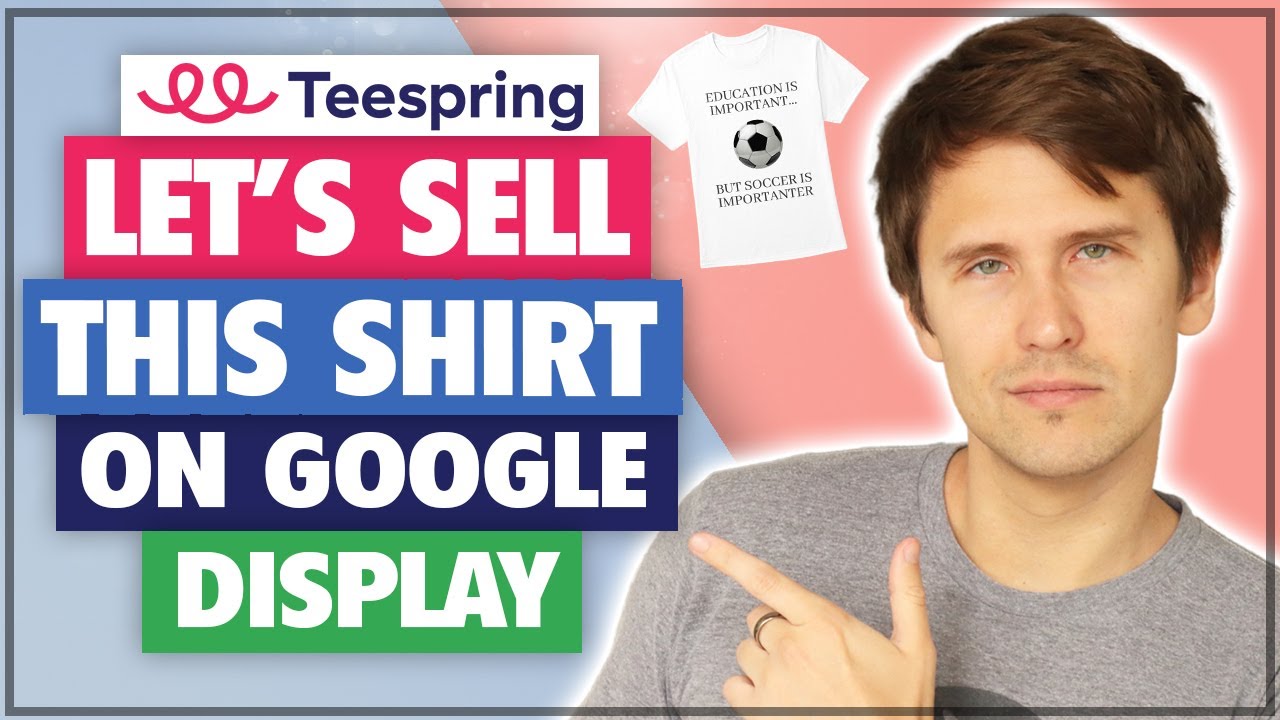
30:34 – Create our listing design image
40:21 – Promote on Google Ads
Let’s go through the 6 steps we have to take to make this work:
Step 1: Create our Teespring listing
So obviously the first thing we have to do is create our Teespring product.
This can be any product you like, such as a shirt, mug, pants, masks, you name it.
In our case, we created a Teespring shirt, so you can go ahead and do the same, or choose any other product and the steps will be exactly the same.
You will also have to confirm your payout details so that Teespring can pay you, so enter your PayPal or Payoneer information before publishing your listing.
Once you do that, we’re ready to go to the next step in marketing our Teespring product on Google Display Ads!
Step 2: Create our Google Ads account
The first thing you have to do is create a regular Google Ads account here if you haven’t already:
👉 https://ads.google.com
Simply enter your email and fill in some blanks and you’ll come across a page that asks you what campaign objective you want to select.
Don’t select any objective – instead, click on “Expert Mode” at the bottom so that you see ALL the Google Ads options available to you.
Also say that you want to continue without creating a campaign.
Congratulations! You’ve now created your ad account and are ready to promote – well, almost…
Step 3: Set up Teespring + Google Ads tracking
Once you do all that, we absolutely have to set up conversion tracking.
This is because you don’t want to go in blindly and just spend tens or hundreds of dollars without even knowing what will convert or not.
So we must set up the pixel tracking between Teespring and Google and I show you how to do that in this video.
Simply click on “Conversions” from the tools menu at the top right of your Google Ads interface and follow the steps to create a new purchase conversion.
Select the Google Tag Manager option and simply copy and paste the value strings provided into your Teespring account under tracking.
You can check to see if it’s working by viewing your Teespring page source and finding the Google pixel ID on the page.
Step 4: Create a deadline and promotion code
This is an optional step but one that will help entice people to buy your listings.
Basically you are able to create a percentage or a flat amount discount for people and they can get that discount if you add the “pr=PROMOCODE” to the end of your Teespring link.
You can also set a deadline for the promotion as well as the actual listing so that people know that this offer won’t last forever and they have to take action now.
Once you do that, let’s create our design image to use with Google display ads!
Step 5: Create our listing design
Now we just have to create a good-looking image to include in our Google Ads display ad to draw attention to our Teespring listing.
I personally use Photoshop, but if you want something much cheaper (and even free), you can use Canva which can do pretty much the same design editing, or at least most of what you need.
You can sign up for free with my affiliate link here:
👉 https://go.ivanmana.com/canva
Add your shirt or product, create a nice-looking design, and then save that image – we’re going to use it later on when creating our Google display ad.
And now finally, let’s move on to the final step in this Teespring and Google display ads tutorial!
Step 6: Promote on Google Display Ads!
This is pretty simple to do now that we got everything else in place.
Simply click on “Create new campaign” in your Google Ads interface, select any objective (most likely traffic since you won’t have any conversion data yet) and select “display” as the campaign type.
Fill in the blanks and go from to bottom as you fill in the details, such as the campaign name, specific targeting via affinity audience or placements, and so on.
Then just test out different targeting options to see what will convert best for you.
And that’s how you market your Teespring listing on Google Display Ads!
Additional resources:
👉 My paid ad network courses: https://ivanmana.com/all-courses
👉 Canva free signup: https://go.ivanmana.com/canva
👉 How to set up your Teespring storefront: https://youtu.be/4CwZKiCTpcA
👉 Google Ads playlist: https://www.youtube.com/watch?v=FpSgshjdKgA&list=PLS46f4aLJ2hNH0RJi21DWAXeCdCT1Lhy6
👉 Teespring playlist: https://www.youtube.com/watch?v=Gx_gTP-STFQ&list=PLS46f4aLJ2hMNMNXyVvnxJOTWFn7wprKI