Nest Thermostat Wall Plate: https://amzn.to/3p6CTo2
In this video we teach you how to install the New Google Nest Thermostat on the Google Home App. Nest released a new version of smart thermostat the in October of 2020. So there are now a total of 3 smart thermostats available on the market. The “New Nest Thermostat”, the Gen 3 Nest Thermostat and the Nest E Thermostat. This video explains some of the differences between the 3 versions: https://youtu.be/slfL0VaE4fQ
The New Nest Thermostat differs from previous versions of the Nest Thermostats in the following ways:
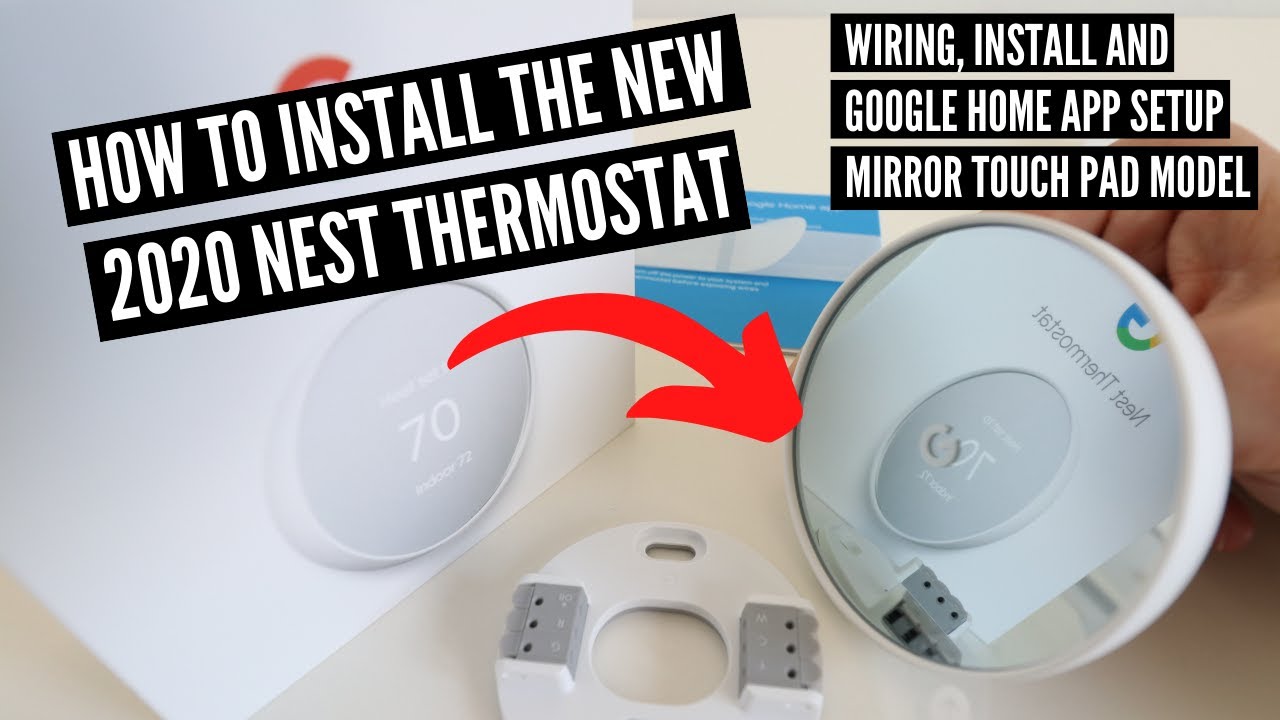
1. The new 2020 version of the Nest Thermostat no longer has an outer rotating ring to control the device. A touch sensor is located on the right side of the device that is used to control the Nest Thermostat.
2. The New Nest Thermostat no longer works on the Nest App. Instead the Nest Thermostat connects directly to the Google Home App for control.
3. The New Nest Thermostat does not work with Nest Temperature Sensors: However the Nest Gen 3 and Nest E still work with Nest Temperature Sensors.
4. The Nest Thermostat comes in 3 colors (White, Sand and Grey) and has a mirrored screen.
5. The New Nest Thermostat will not work with Alexa voice commands.
Resources:
How To Install A Common Wire: https://youtu.be/w0BZPx8-Q5o
How To Install A Common Wire With A Transformer: https://youtu.be/gahPxCcPDto
Thermostat Wiring Explanation: https://youtu.be/CCNIko3iZIE
How To Install A Nest Thermostat With 2 Wires: https://youtu.be/Mhz6bbsCUtE
How To Install The Nest Thermostat 2020:
1. Turn off the power to your existing HVAC system at the circuit breaker or at the HVAC system.
2. Remove the cover plate for your existing thermostat and take a picture of your existing wiring.
3. Remove the existing wiring from your existing thermostat, and remove the existing thermostat.
4. If you are installing a wall cover plate pull the thermostat wires through the cover plate and then pull the wires through the Nest Thermostat base plate. Then secure the Nest Thermostat baseplate on the wall with screws.
5. Install the thermostat wires into the Nest Thermostat base plate.
6. Remove the battery tabs from the Nest Thermostat and then install the Nest Thermostat on to the Nest Thermostat baseplate.
7. Turn the power to your HVAC system back on.
8. Install the Google Home App and login to the Google Home App if you already have it installed. Click the “+” symbol in the Google Home “Home Screen” to add a device then select add a device.
9. Chose the “Thermostat” as the type of device you are installing and then follow the instructions for setup of your New Nest Thermostat.
DID THIS HELP? You can support us: https://www.buymeacoffee.com/OneSmartHome
Our Website: https://www.onehoursmarthome.com/
Podcast: https://www.onehoursmarthome.com/podcasts
***Join the email list: http://eepurl.com/0KDob ***
My Favorite Smart Home Devices
Ring Doorbell: https://amzn.to/2V8rqHQ
Nest Thermostat: https://amzn.to/2GWbVvT
Smart Lock: https://amzn.to/3a5m5W0
Ring Security System: https://amzn.to/2Vh7Gz4
Smart Plugs:https://amzn.to/2EqtrGT
Router (When I installed it my internet was 3X faster): https://amzn.to/2XjwckX
Modem: https://amzn.to/2NnyBpX
Echo Show: https://amzn.to/2BMhpWQ
Sonos Beam: https://amzn.to/2EoG5X9
Amazon Cam: https://amzn.to/2BNfb9m