
Java is one of the most popular programming languages and the JVM (Java’s virtual machine) is the run-time environment to run Java applications. These two platforms are required for many popular software that includes Tomcat, Jetty, Cassandra, Glassfish, and Jenkins.
This tutorial will guide you through the installation of Java on Ubuntu 24.04, Ubuntu 22.04, and Ubuntu 20.04, covering both the installation from the Ubuntu repository and the official Oracle package.
Installing Java from the Ubuntu Repository
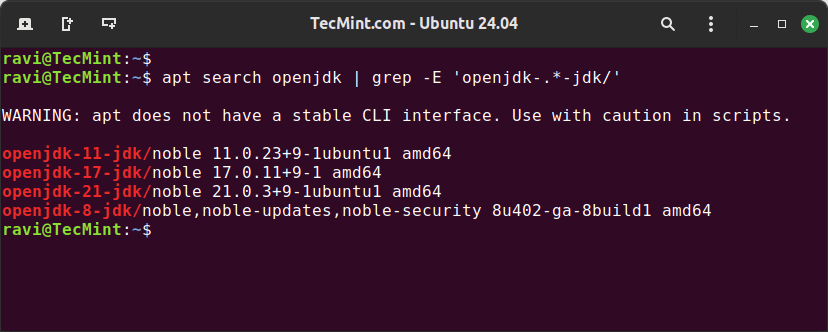
To begin, search for all available Java versions in the Ubuntu package repository.
apt search openjdk | grep -E 'openjdk-.*-jdk/'
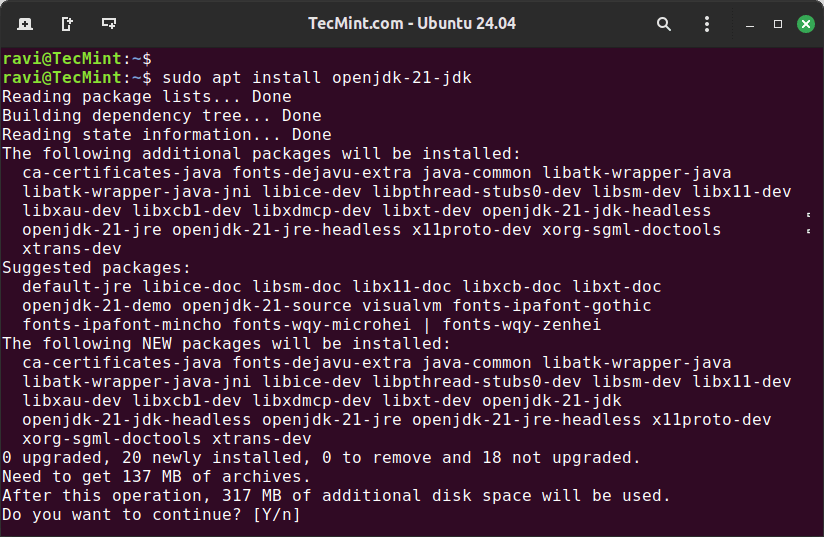
Next, choose the Java version that suits your needs. Here we are installing openjdk-21-jdk (Java Development Kit), which includes the compiler, libraries, and tools needed for developing Java applications.
sudo apt install openjdk-21-jdk
Verify that Java has been installed correctly by checking the version of both the Java runtime and the compiler.
java --version
javac --version
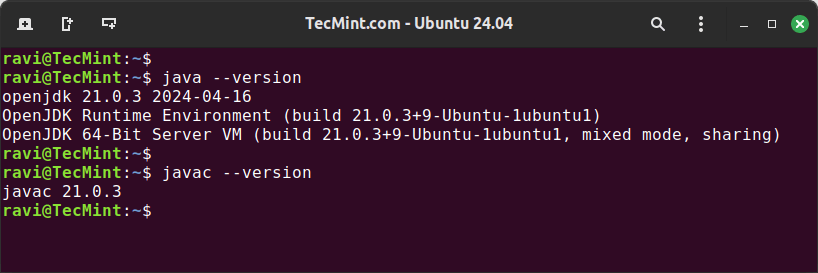
If the installation was successful, you should see the version of Java you installed displayed in the terminal.
Installing Java from the Official Oracle Package
Download the Oracle Java package from the official Oracle website or use the following wget command to download directly in the terminal.
wget https://download.oracle.com/java/22/latest/jdk-22_linux-x64_bin.deb
Once downloaded, use the following dpkg command to install the Oracle Java installer file that includes the necessary binaries and files to run the Java Development Kit on your system.
sudo dpkg -i jdk-22_linux-x64_bin.deb
Verify that Java has been installed correctly by checking the version of both the Java runtime and the compiler.
java --version
javac --version
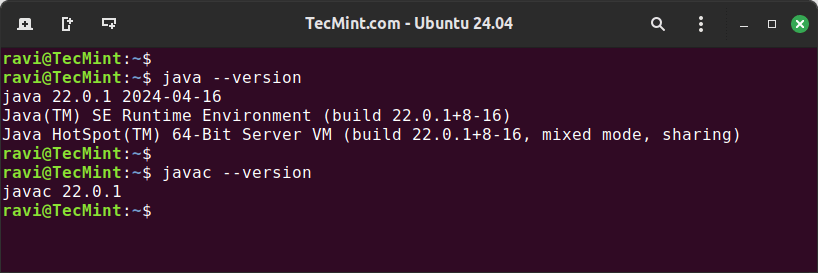
If the installation was successful, you should see the version of Java you installed displayed in the terminal.
Managing Multiple Java Versions in Ubuntu
Having multiple versions of Java installed allows you to test and develop applications using different versions of the Java platform.
You can install multiple versions of Java from the Ubuntu repository and switch between different Java versions using the update-alternatives command as shown.
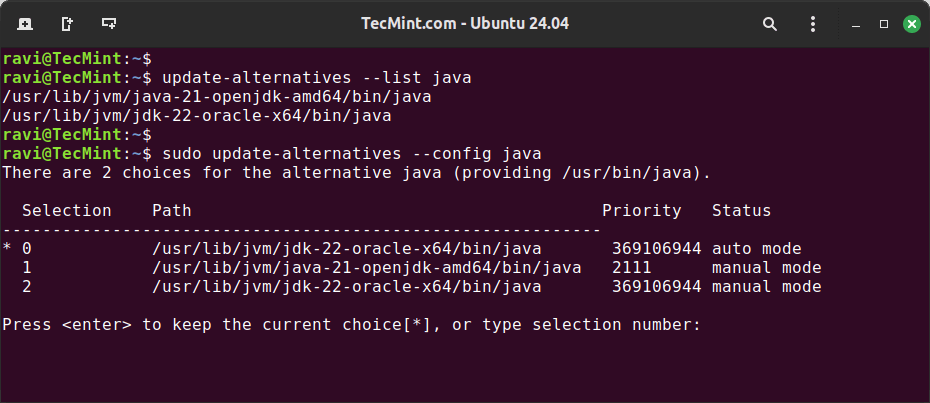
List all available Java versions installed on your system.
update-alternatives --list java
To switch between different Java versions, use the following command.
sudo update-alternatives --config java
Conclusion
Installing Java on Ubuntu 24.04, Ubuntu 22.04, and Ubuntu 20.04 is a straightforward process that can be accomplished through various methods. This tutorial has covered both the installation from the Ubuntu repository and the official Oracle package.
Additionally, it has discussed how to switch between different Java versions. By following these steps, you can successfully install and manage Java on your Ubuntu system.