TeamViewer is a cross-platform, proprietary application that allows a user to remotely gain access to another user’s desktop, share the desktop, and even allow file transfer between computers over an internet connection.
TeamViewer is a popular application among helpdesk support staff and comes in handy when helping out remote users who are stuck and cannot find worthwhile assistance.
This article will guide you through the process of installing TeamViewer on Ubuntu 24.04, Ubuntu 22.04, and Ubuntu 20.04.
Installing TeamViewer in Ubuntu
Before getting started, it’s recommended to update your system packages, which will ensure that you start on a clean slate. So open your terminal and issue the command below.
sudo apt update -y
sudo apt upgrade -y
Once you are through with updating your system, head over to the official Teamviewer’s download page and download Teamviewer’s Ubuntu/Debian package.
Alternatively, you can copy the download link and download the Debian package using the following wget command as shown.
-------- For x86-64bit --------
sudo wget https://download.teamviewer.com/download/linux/teamviewer_amd64.deb

-------- For x86-32bit --------
sudo wget https://download.teamviewer.com/download/linux/teamviewer_i386.deb
Upon successfully downloading the file, you can verify its existence using the ls command as shown.
ls | grep teamviewer

teamviewer_amd64.deb
To install TeamViewer, run the command shown, which will install TeamViewer alongside other dependencies.
sudo apt install ./teamviewer_amd64.deb
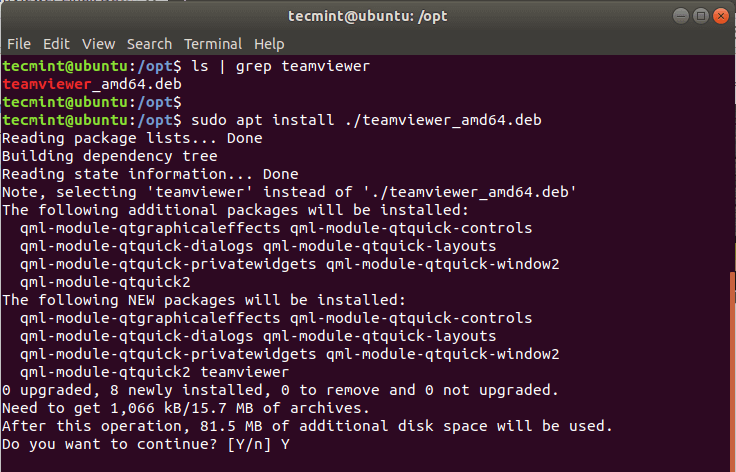
When prompted to continue with the installation, type ‘Y’ for Yes and hit the ‘ENTER’ button.
Launch TeamViewer in Ubuntu
Once the installation is complete, you can proceed to Launch Teamviewer. To launch Teamviewer, run the command below on the terminal.
teamviewer
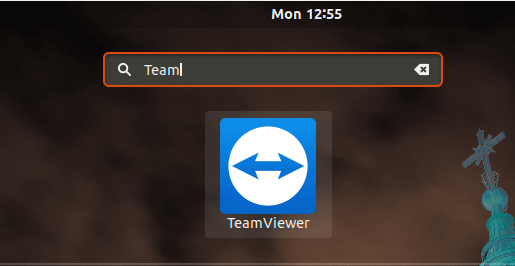
Also, you can use the application manager to search and launch the TeamViewer application as shown.
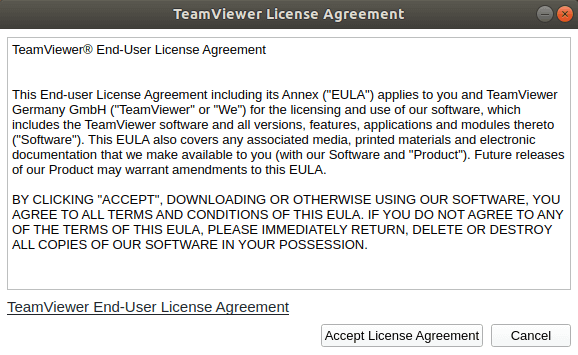
When you first run TeamViewer, you will be prompted to accept the license agreement. Click “Accept License Agreement” to proceed.
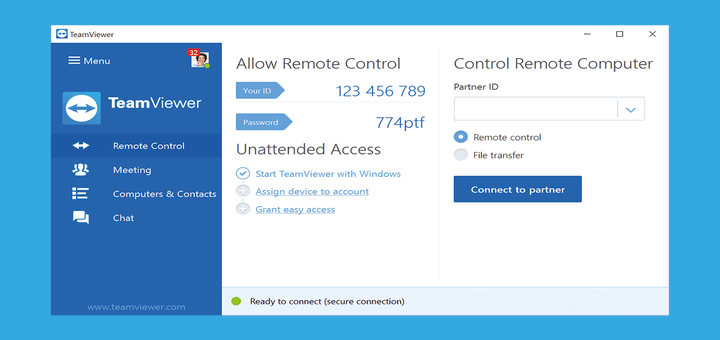
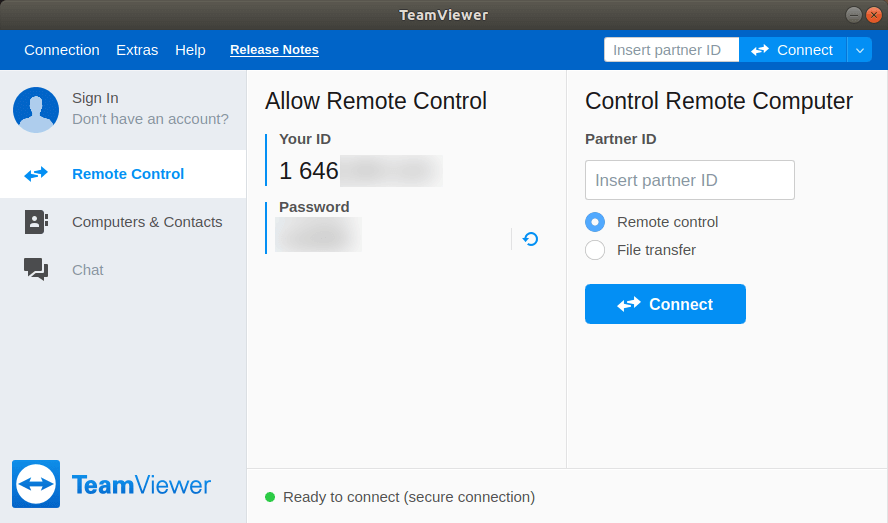
TeamViewer will then display your unique ID and temporary password. Share these details with the person you want to connect with or use them to connect to another device.
Using TeamViewer in Ubuntu
To make a remote connection to another user, simply provide them with your Teamviewer ID and password. The user will insert the ID at the ‘Insert partner ID’ text field after which they will click on the ‘Connect’ button.
Later, they will be prompted for the password which will then give them a remote connection to your desktop.
Uninstalling TeamViewer in Ubuntu
If you ever need to uninstall TeamViewer, you can do so using the following command.
sudo apt-get remove teamviewer
This will remove TeamViewer from your system along with its configuration files.
Conclusion
Installing TeamViewer on Ubuntu is a straightforward process whether you prefer using the graphical interface or the command line.
Once installed, TeamViewer provides a powerful tool for remote desktop access and support, enhancing collaboration and productivity across different locations.