
Memcached is an open-source distributed memory object caching program that allows us to improve and speed up the performance of dynamic web applications by caching data and objects in Memory.
Memcached is also used to cache entire database tables and queries to improve the performance of the database. It is the only caching system available freely and used by many big sites like YouTube, Facebook, Twitter, Reddit, Drupal, Zynga, etc.
Memcached can commit to denial of service attacks if not correctly configured. In this article, we will explain how to install and secure your Memcached server on RHEL-based Linux distributions such as Rocky Linux, AlmaLinux, and Fedora.
Installing Memcached in Linux
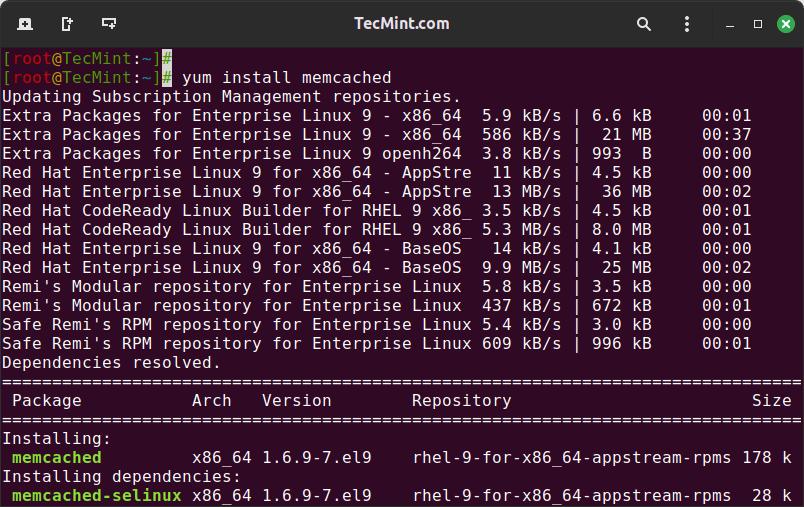
First, update your local software package index and then install Memcached from the official repositories using the following yum commands as root administrative user.
yum update
yum install memcached
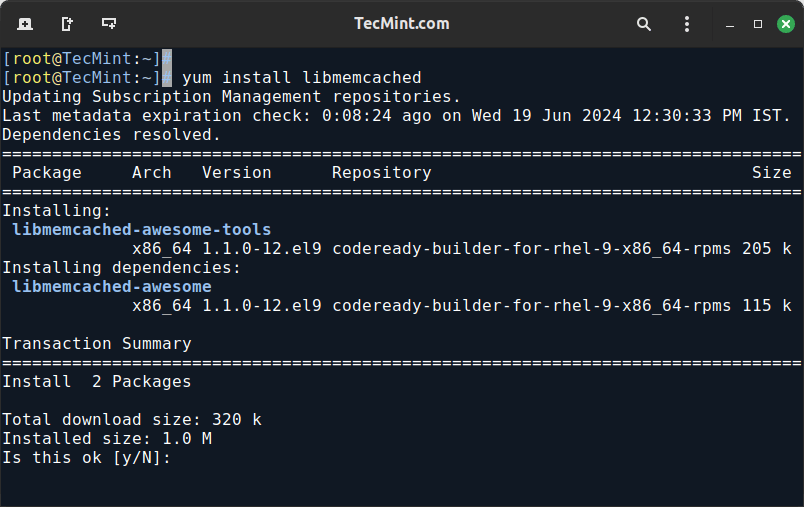
Next, we will install libmemcached – a client library that offers a couple of tools to manage your Memcached server.
yum install libmemcached
Memcached should now be installed on your system as a service, along with the tools that require you to test its connectivity. Now we can proceed further to secure its configuration settings.
Securing Memcached Configuration Settings
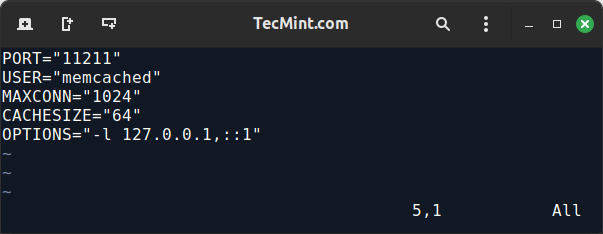
To make assure that the installed Memcached service is listening on the 127.0.0.1 local interface, we will alter the OPTIONS variable in the /etc/sysconfig/memcached configuration file.
vi /etc/sysconfig/memcached
Search for the OPTIONS variable, and add the -l 127.0.0.1,::1 to OPTIONS variable. These configuration settings will protect our server from denial-of-service attacks.
PORT="11211"
USER="memcached"
MAXCONN="1024"
CACHESIZE="64"
OPTIONS="-l 127.0.0.1,::1"
Let’s discuss each of the above parameters in detail.
- PORT : The port used by Memcached to run.
- USER : The start-up daemon for the Memcached service.
- MAXCONN : The value used to set max simultaneous connections to 1024. For busy web servers, you can increase to any number based on your requirements.
- CACHESIZE : Set cache size memory to 2048. For busy servers, you can increase up to 4GB.
- OPTIONS : Set the IP address of the server, so that Apache or Nginx web servers can connect to it.
Restart and enable your Memcached service to apply your configuration changes.
systemctl restart memcached
systemctl enable memcached
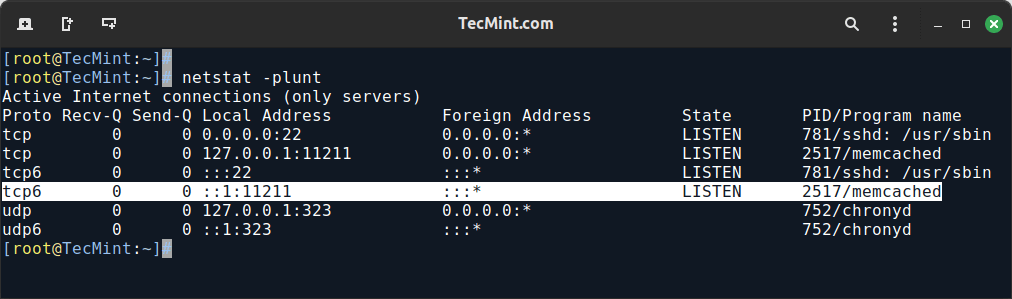
Once started, you can confirm that your Memcached service is bound to the local interface and listening only on TCP connections using following netstat command.
netstat -plunt
You can also check the status of the server using the memcached-tool as shown.
memcached-tool 127.0.0.1 stats

Now make sure to allow access to the Memcached server by opening a port 11211 on your firewall as shown.
firewall-cmd --permanent --zone=public --add-port=11211/tcp
Test Memcached Installation
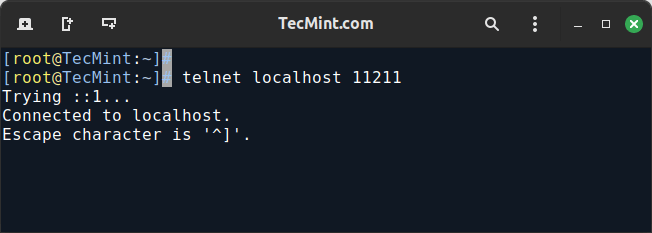
To verify that Memcached is working properly, you can connect to it using the telnet command.
telnet localhost 11211
If the connection is successful, you’ll see a prompt similar to this:
Install Memcached PHP Extension
To install the Memcached PHP extension and integrate it with Perl, Python, Apache, and Nginx on a Linux system, you’ll need to follow specific steps for each component.
For PHP:
yum install php-memcached
You may need to restart Apache, Nginx, or PHP-FPM after installation:
systemctl restart httpd
systemctl restart nginx
systemctl restart php-fpm
For Perl:
yum install perl-Cache-Memcached
For Python:
yum install python3-memcached
Once installed, configure your PHP, Perl, or Python applications to utilize Memcached for caching. This involves modifying application code to connect to the Memcached server and store/retrieve cached data.
Conclusion
In this article, we have explained how to install and secure your Memcached server for the local network interface, aiming to optimize the performance of dynamic web applications by reducing database load through efficient caching.
If you have faced any issues during installation, do ask for help in our comment section below.