Preparing for the Red Hat Certified System Administrator (RHCSA) exam requires hands-on experience with Red Hat Enterprise Linux (RHEL) 9.
In this article, we’ll walk through the steps to perform a standard RHEL 9 installation that you can use for your RHCSA exam preparation.
System Requirements
Before you begin the installation, make sure your system meets the minimum requirements for RHEL 9:
- 64-bit AMD, Intel, or ARM processor.
- Minimum 2GB, recommended 4GB or more.
- Minimum 20GB of available disk space.
RHEL 9 supports a variety of hardware architectures, including x86_64, IBM Power Systems (little-endian), and 64-bit IBM Z. For this guide, we’ll assume you’re using an x86_64 system.
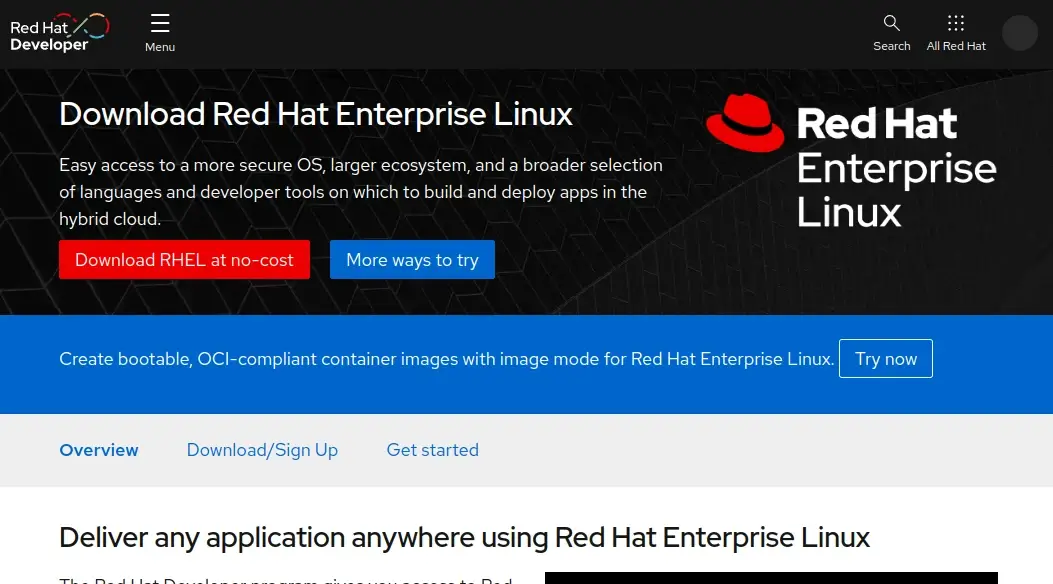
Step 1: Download RHEL 9.3 for Free
The Red Hat Developer Subscription is a free offering from the Red Hat Developer program. It’s designed for individual developers who want to use Red Hat Enterprise Linux fully.
With this subscription, developers can access all versions of Red Hat Enterprise Linux and other Red Hat products like add-ons, software updates, and security fixes.
Before you start, make sure you have a Red Hat account. If you don’t have one yet, go to the Red Hat Customer Portal, click ‘Register‘, and fill in your details to create your account.

Once you’ve made your Red Hat account, you’re ready to download the latest release of RHEL 9.4 for free from the Red Hat Developer Portal.
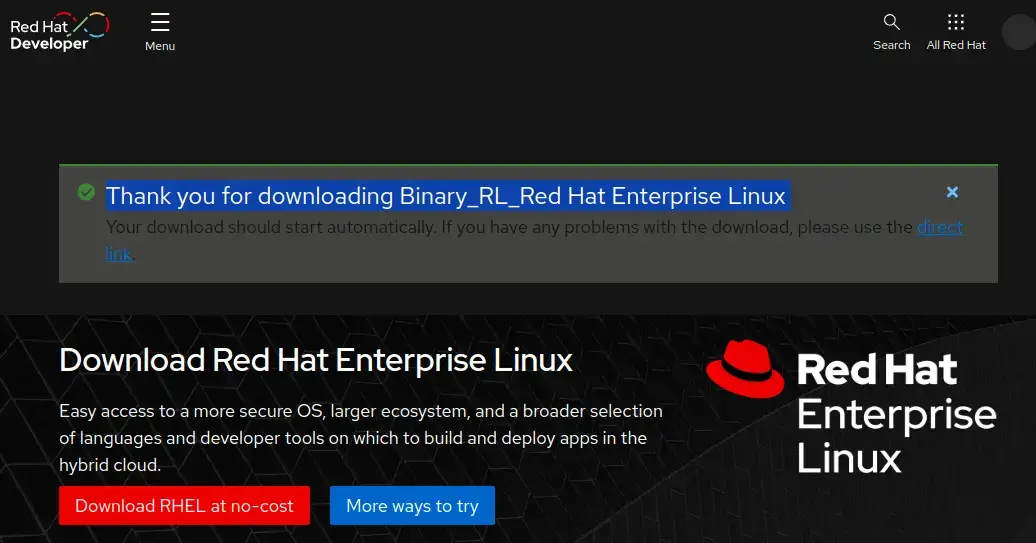
Soon after, the download of the RHEL 9.4 ISO image will start. You’ll receive a confirmation message letting you know that RHEL 9 is currently downloading.
Step 2: Create a Bootable RHEL 9 USB Drive
With the ISO image downloaded, plug your USB stick into your computer and make it into a bootable drive using a USB creation tool, or you can use a tool like the dd command as demonstrated.
sudo dd if=rhel-9.4-x86_64-boot.iso of=/dev/sdX bs=4M status=progress && sync
Replace “rhel-9.4-x86_64-boot.iso” with the exact name of the ISO file you downloaded, and replace “/dev/sdX” with the name of your USB device (make sure you choose the correct device to avoid losing any data).
Step 3: Start RHEL 9 Installation
After making the bootable USB drive, you should boot your computer from it. To do this, you need to access the system’s boot menu. This is usually done by pressing keys like F2, F12, or Del right after you turn on your computer. Look for an option that lets you choose which device to boot from, and select the USB drive.
Once your computer boots from the USB drive, you’ll see a menu where you can choose to start the installation process. Look for an option that says something like “Install Red Hat Enterprise Linux 9.4” and select it to begin installing RHEL on your system.

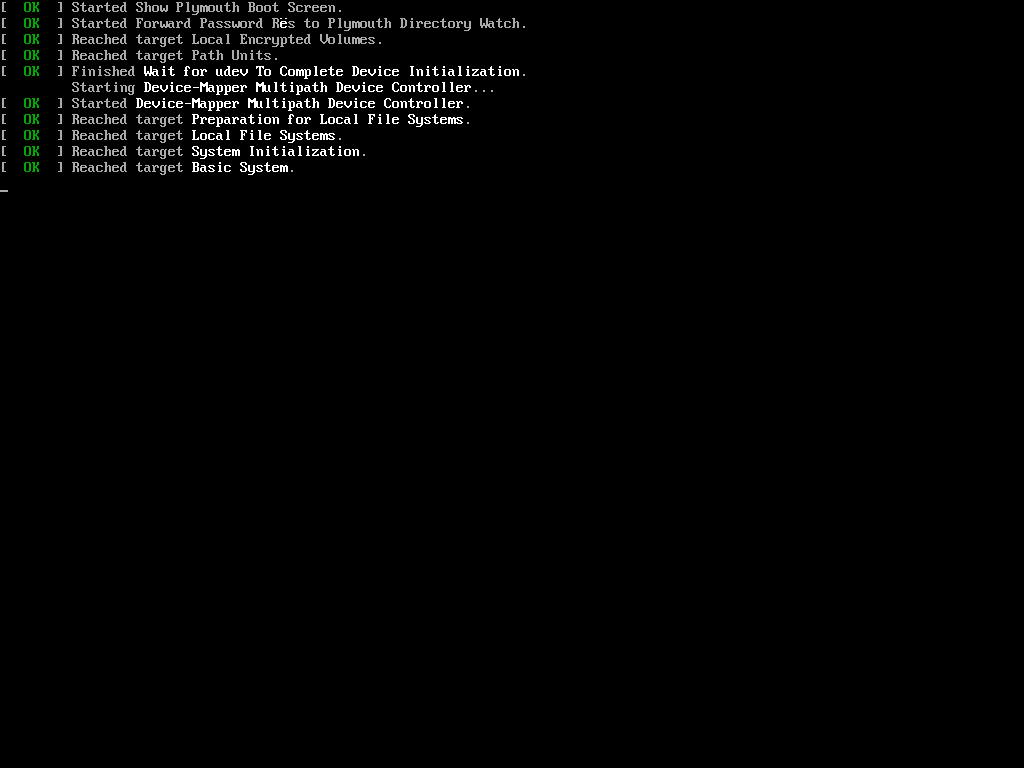
Soon after that, you’ll see some messages appear on the screen during boot-up. There’s no need to do anything at this point, just wait patiently while the installer prepares to install RHEL.
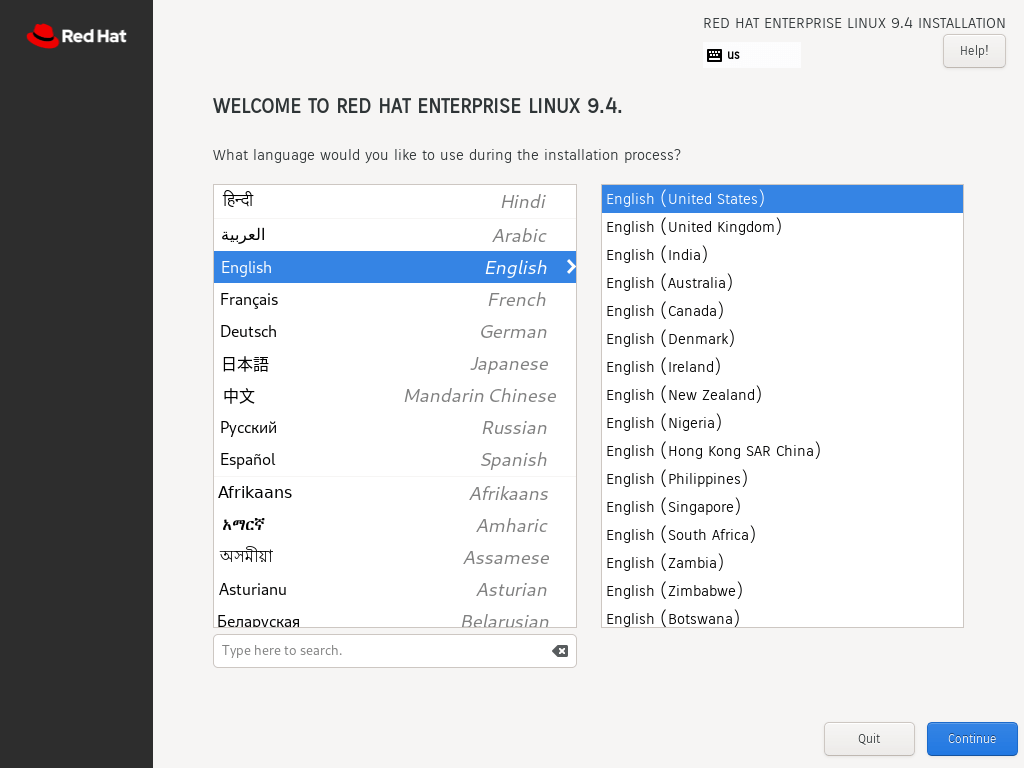
After a few seconds, the setup wizard for installing Red Hat Enterprise Linux 9.4 appears. In the first step, choose the language you want and then click on ‘Continue’.
Step 4: Configure RHEL Partitioning
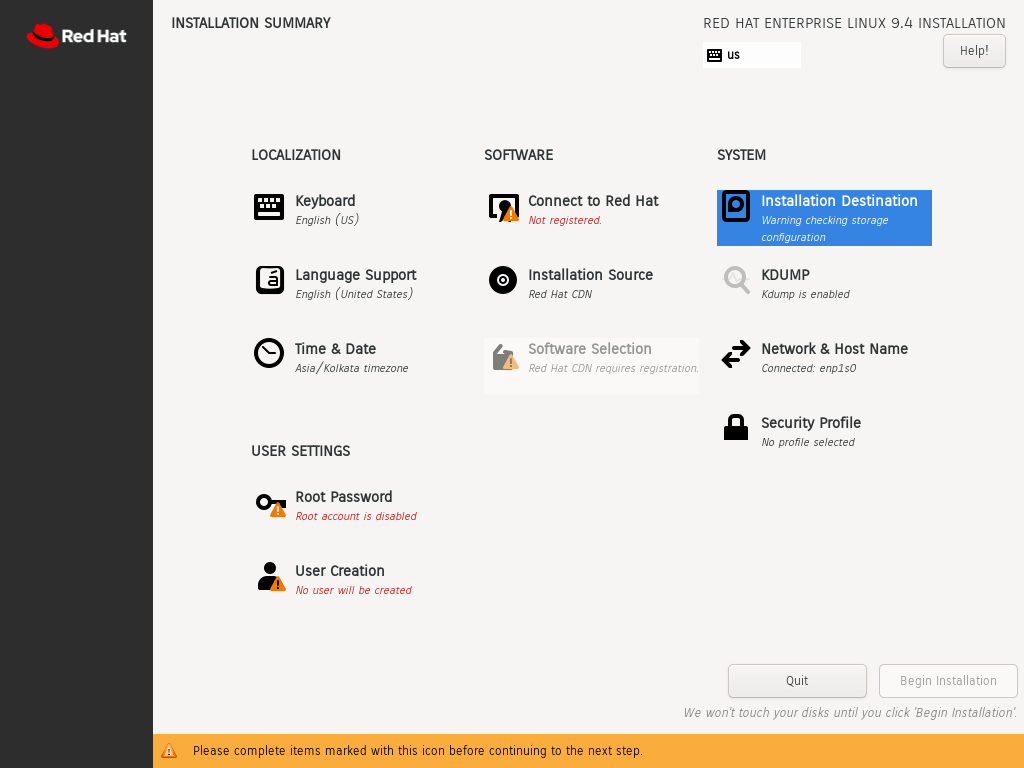
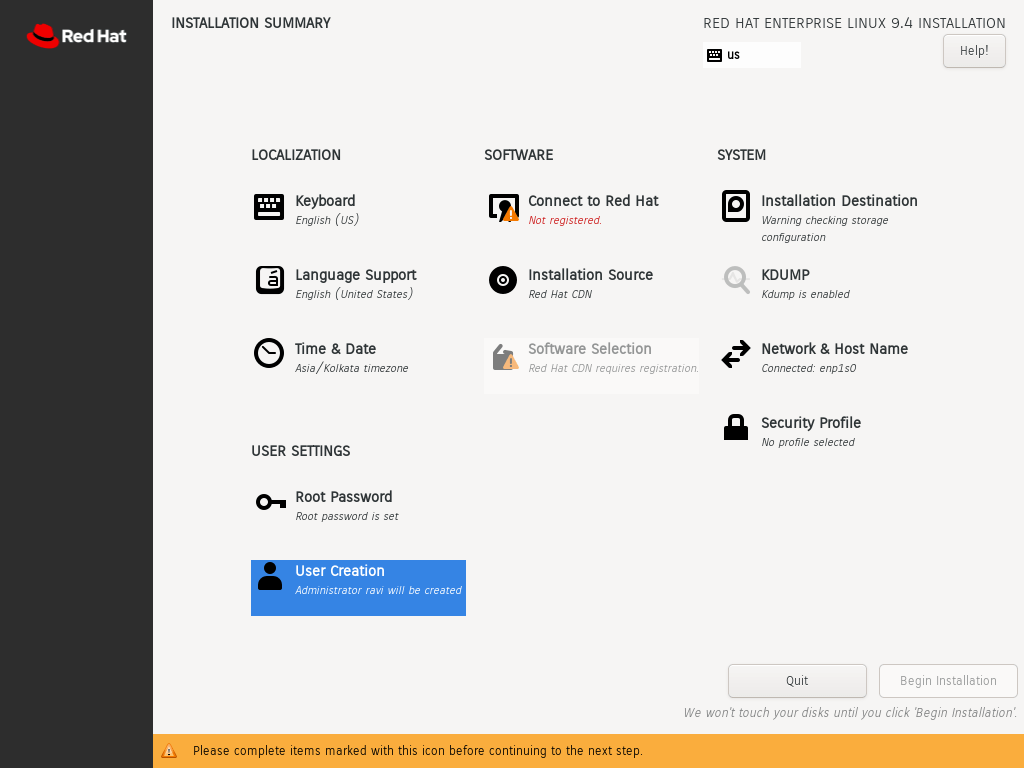
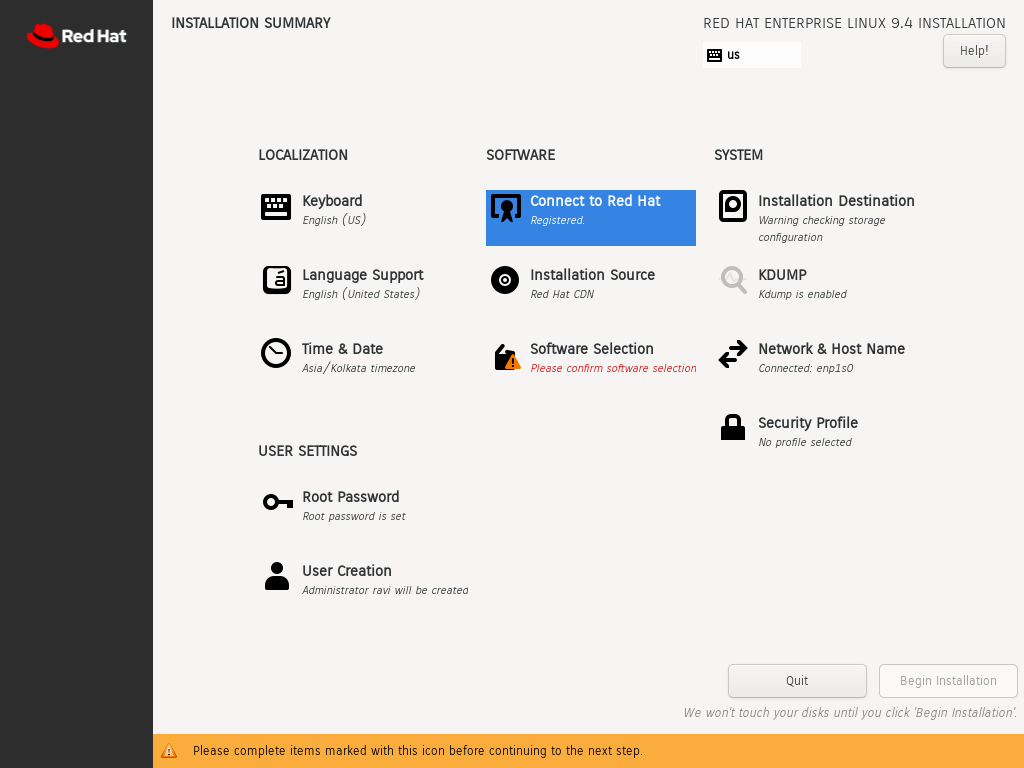
Next, you’ll see a summary of the installation process divided into four sections:
- Localization
- Software
- System
- User Settings
We’ll only look at three things that you must do before continuing with the installation: setting the Installation Destination, creating a Root Account, and making a Regular Account.
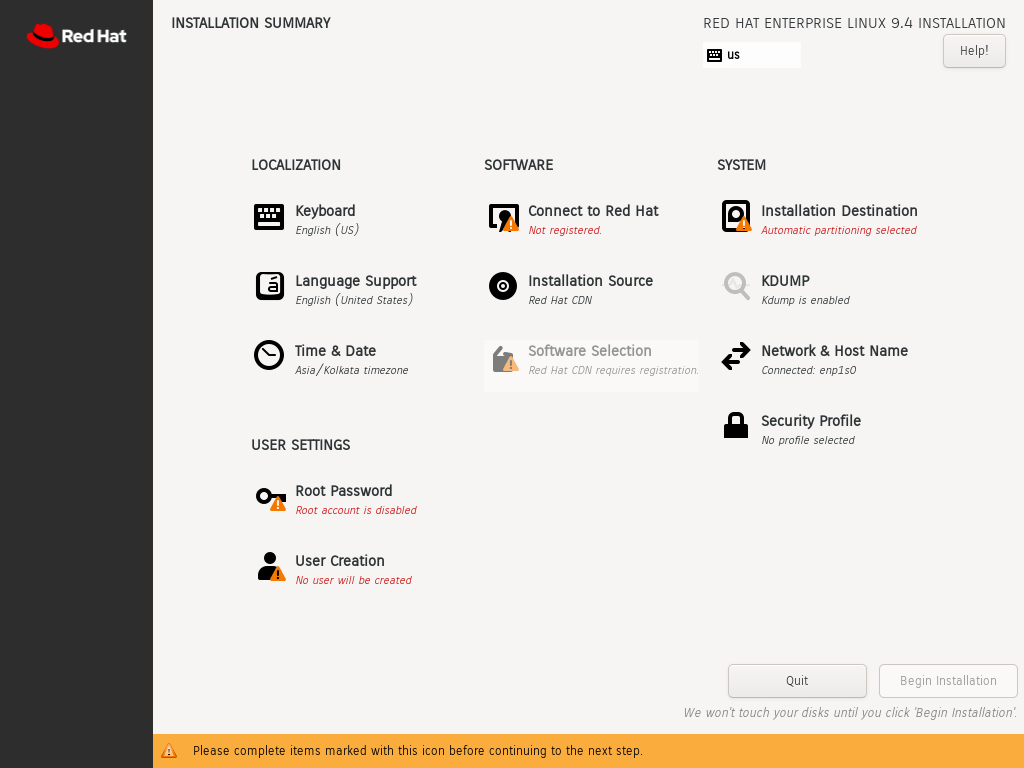
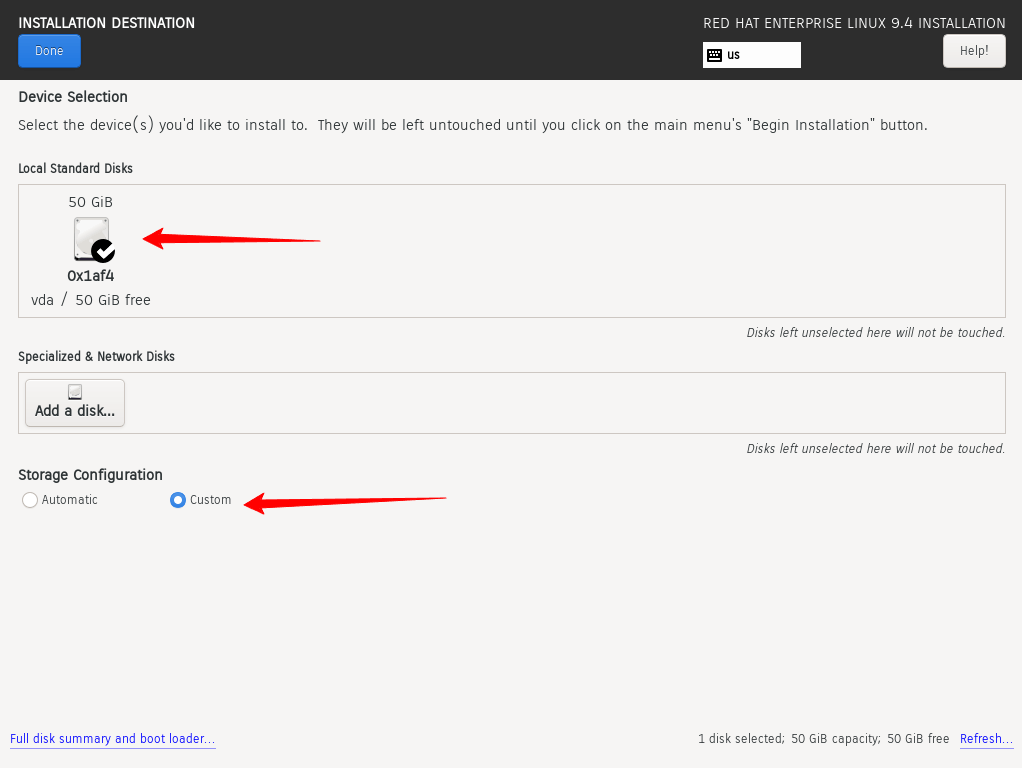
To set up partitions, go to ‘Installation Destination’ under SYSTEM. On that page, choose ‘Automatic’ if you want the wizard to partition your hard drive automatically. If you prefer to create partitions yourself, select ‘Custom’ instead.
Make sure to select the hard disk on your PC. After that, click on ‘Done’.
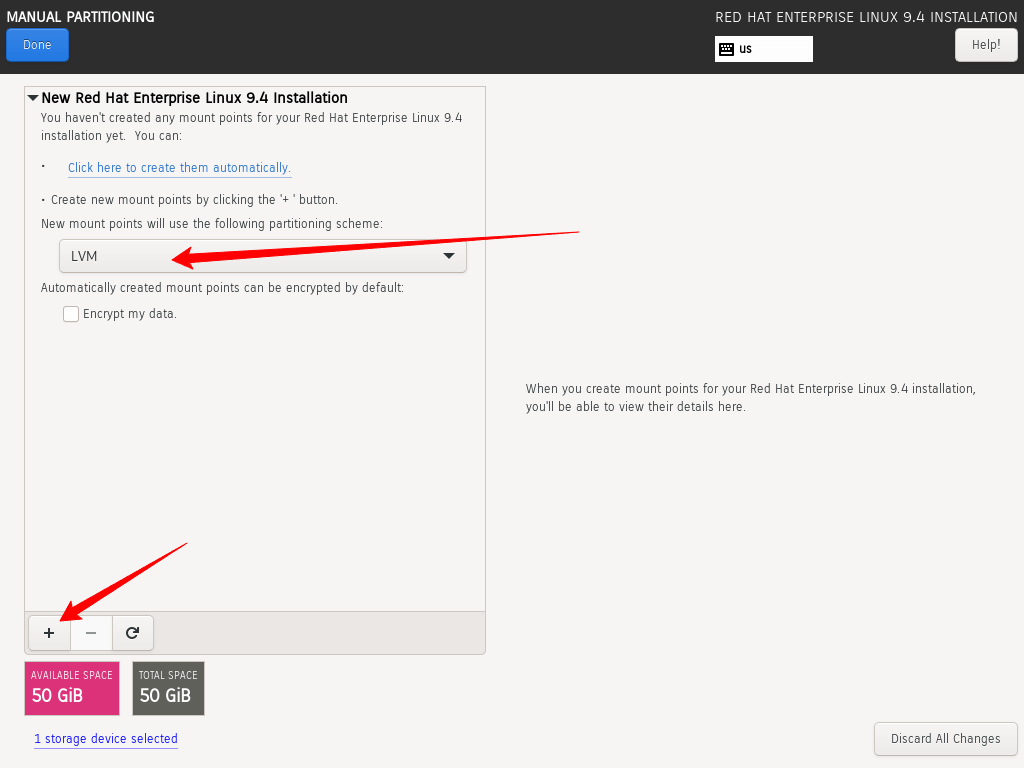
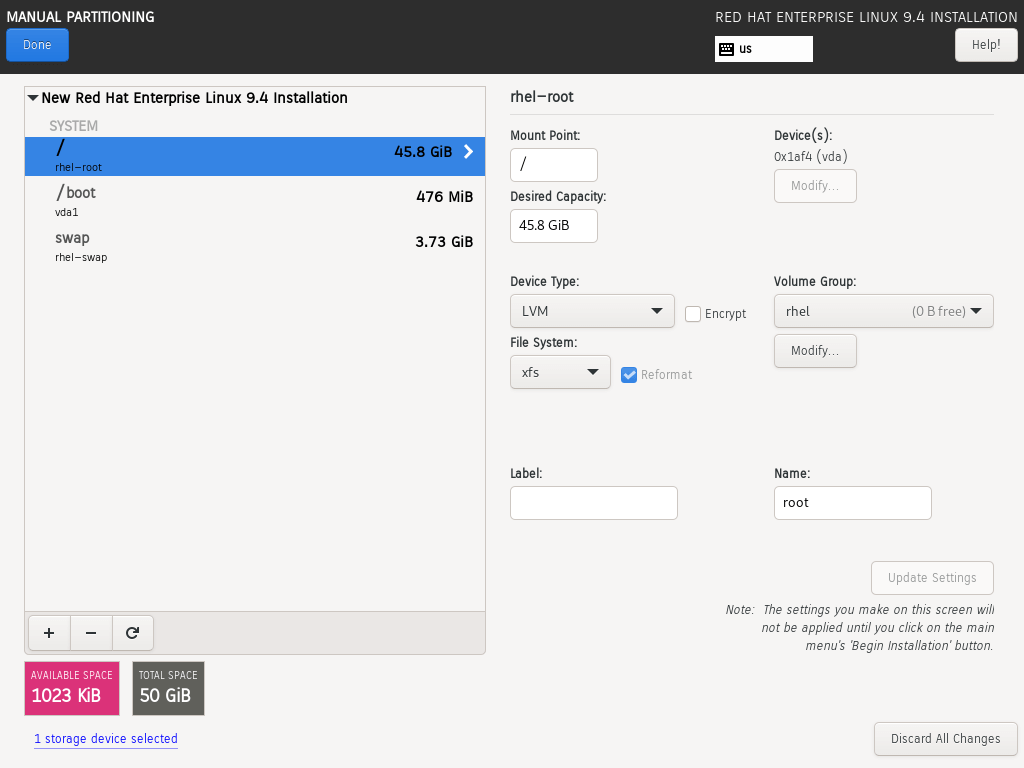
This brings you to the ‘Manual Partitioning’ window. The default partitioning scheme using LVM is selected, which is perfectly okay.
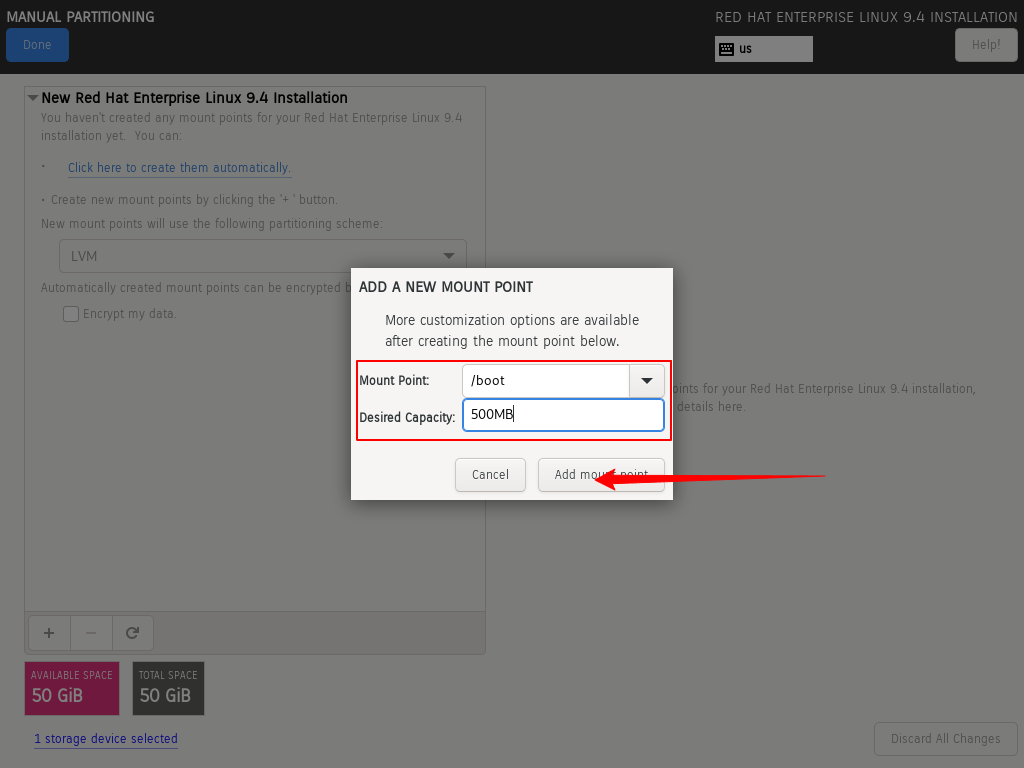
To begin creating partitions, click on the plus [ + ] sign.
To show you how it’s done, we’ll make these partitions.
/boot -	500MB
swap  - 4GB
/root -	15GB
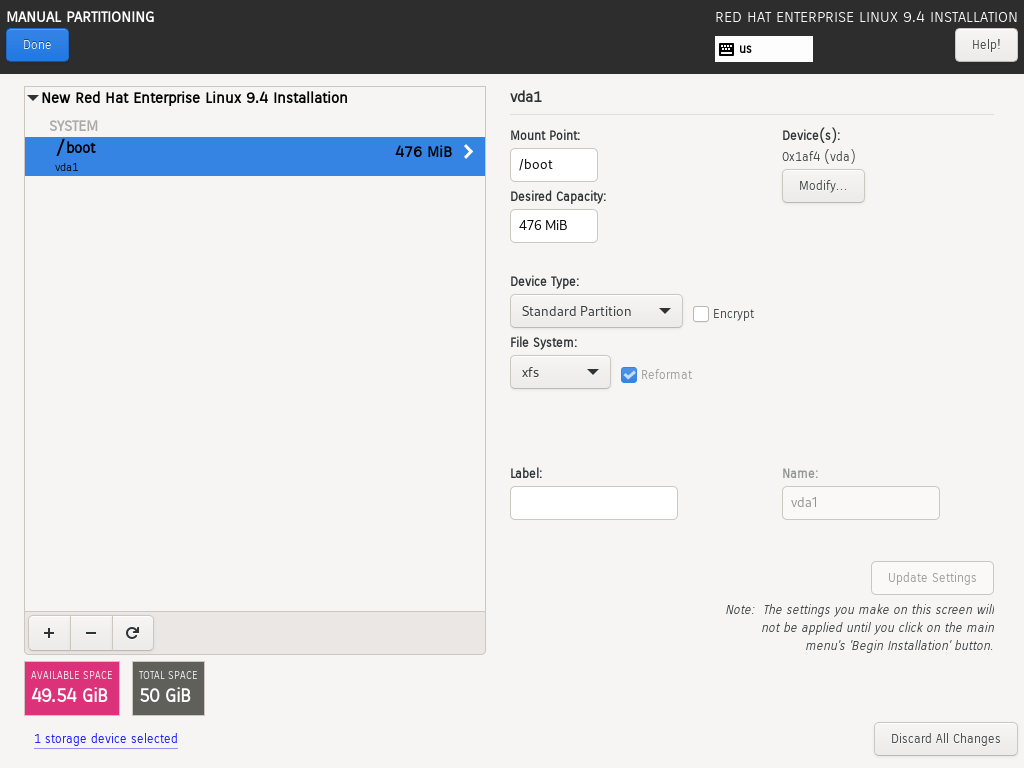
First, we will create the boot partition.
Based on the partition table below, you can see that the boot partition has been set up.
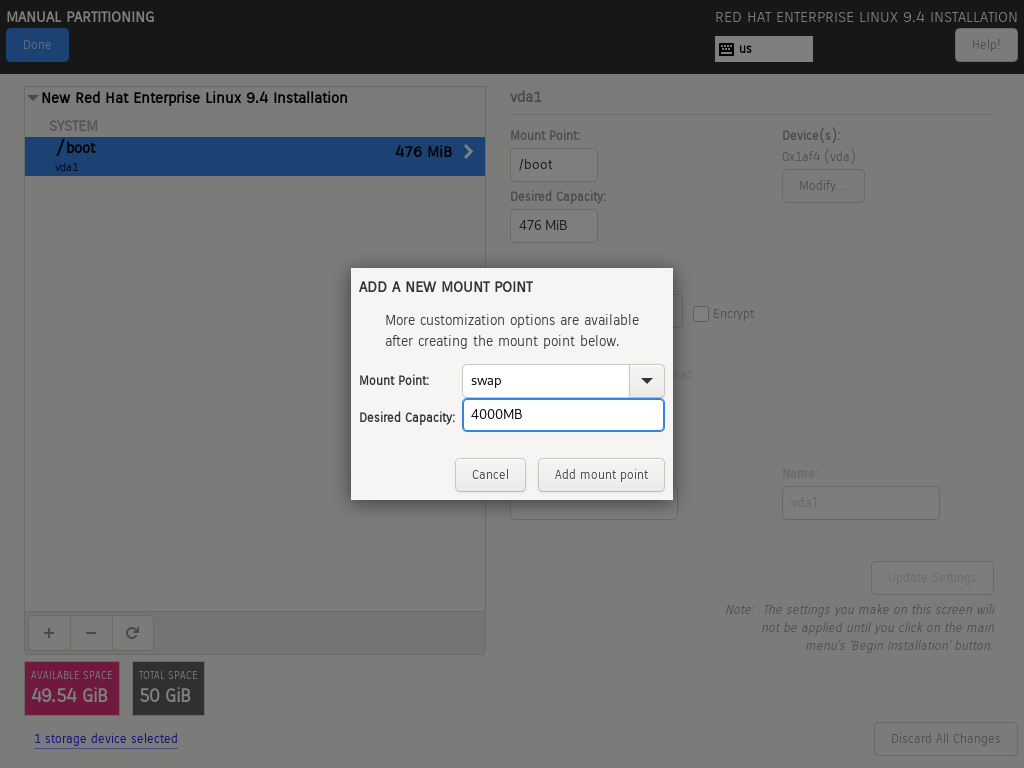
Next, create the swap partition.
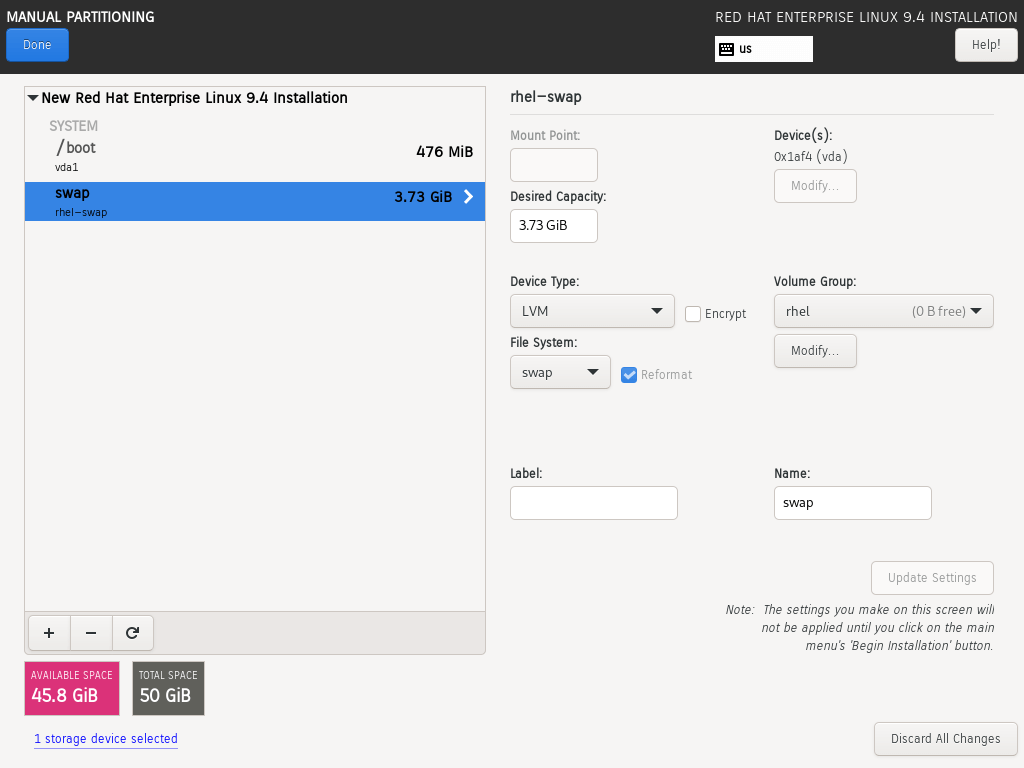
Finally, create the /root partition with all remaining disk space.

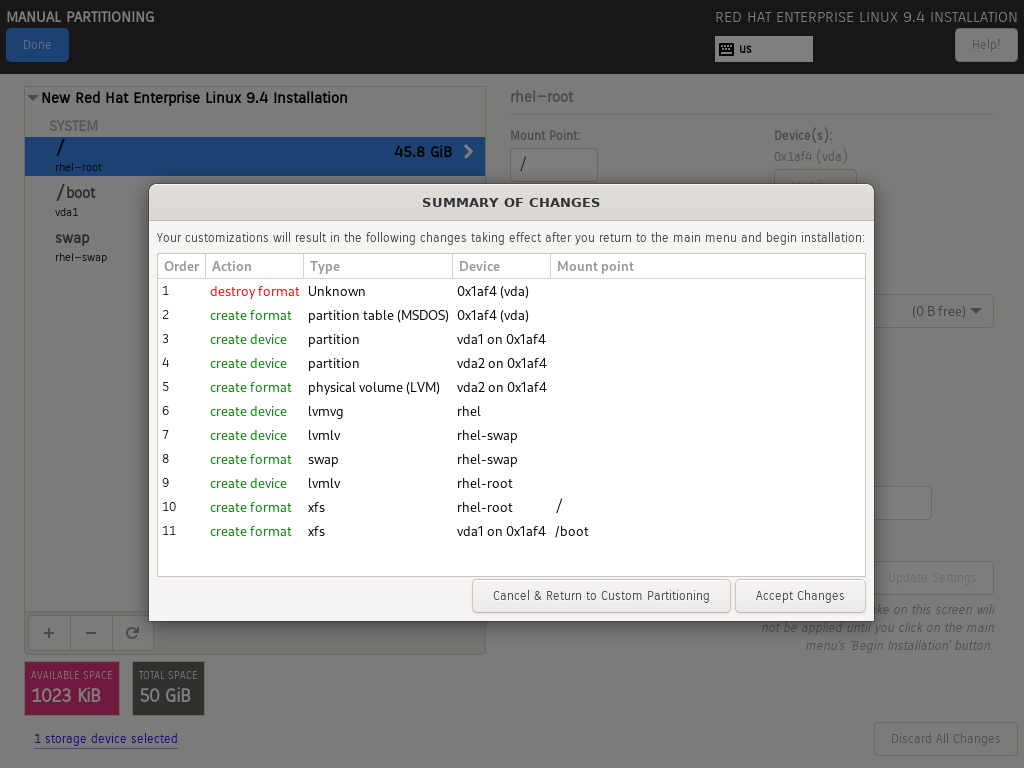
To save the changes, click on ‘Done‘ two times, and then click ‘Accept Changes‘ on the window that pops up.
Step 5: Configure User Settings
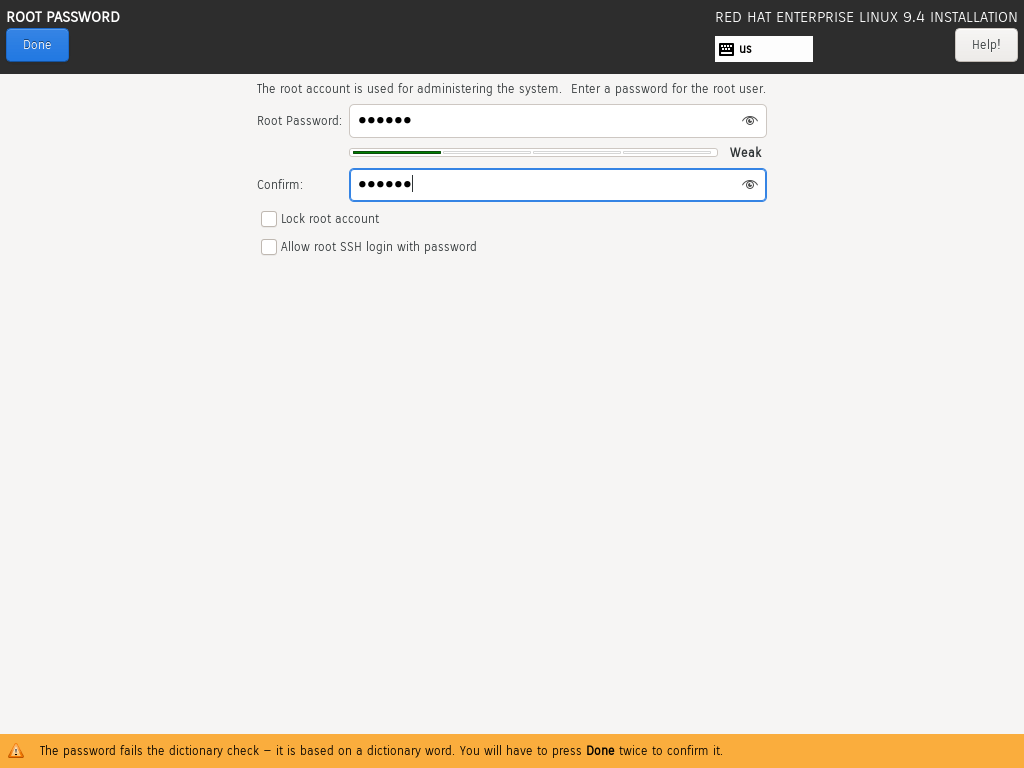
Next, we will set up user settings, beginning with the Root password. To do this, click on the ‘Root Password‘ icon.
To unlock the Root account, enter a password for Root and confirm it. After that, click on ‘Done‘.
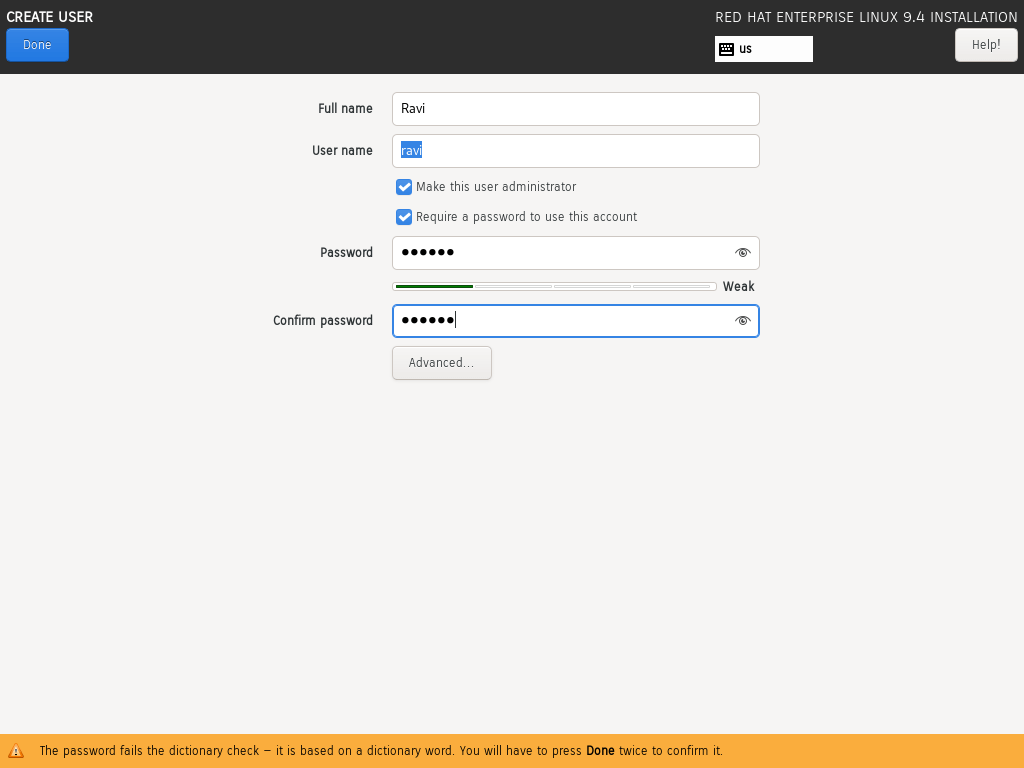
Next, make a new regular user by selecting ‘Create User‘.
Enter the username and password for the user, then click ‘Done‘. Also, ensure this user has administrator privileges.
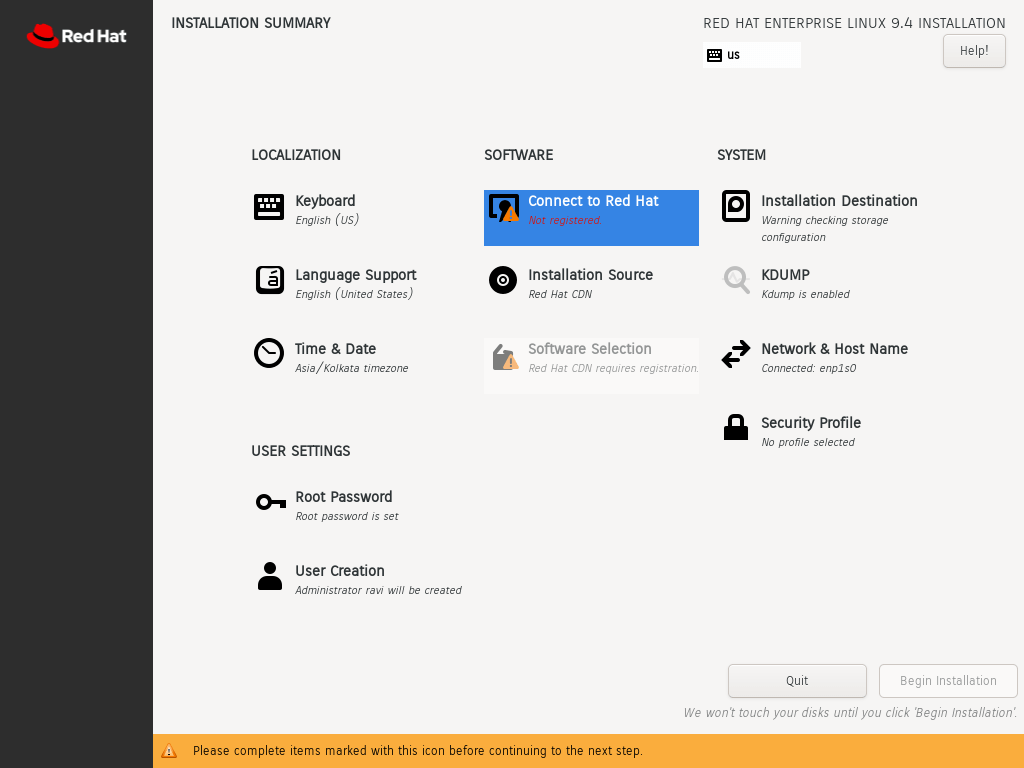
Step 5: Connect to Red Hat Subscription
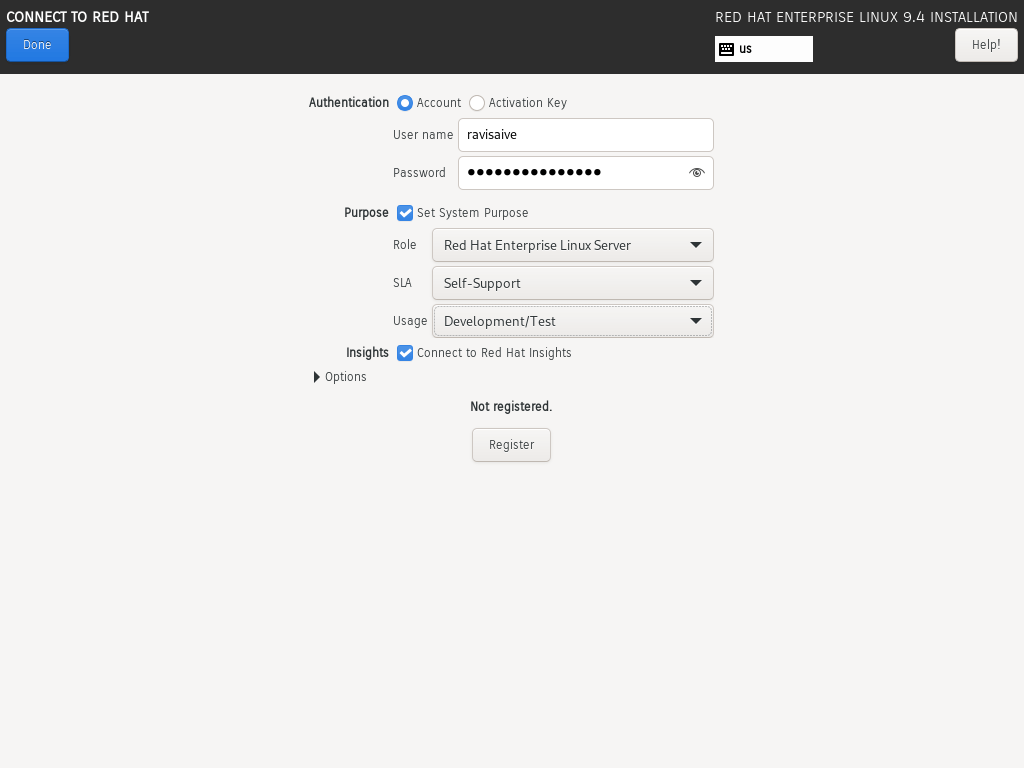
In the “Connect to Red Hat” window, you can choose to authenticate using either your Red Hat Customer Portal account or an activation key.
If using a Red Hat account, enter your username and password or enter your organization ID and activation key.
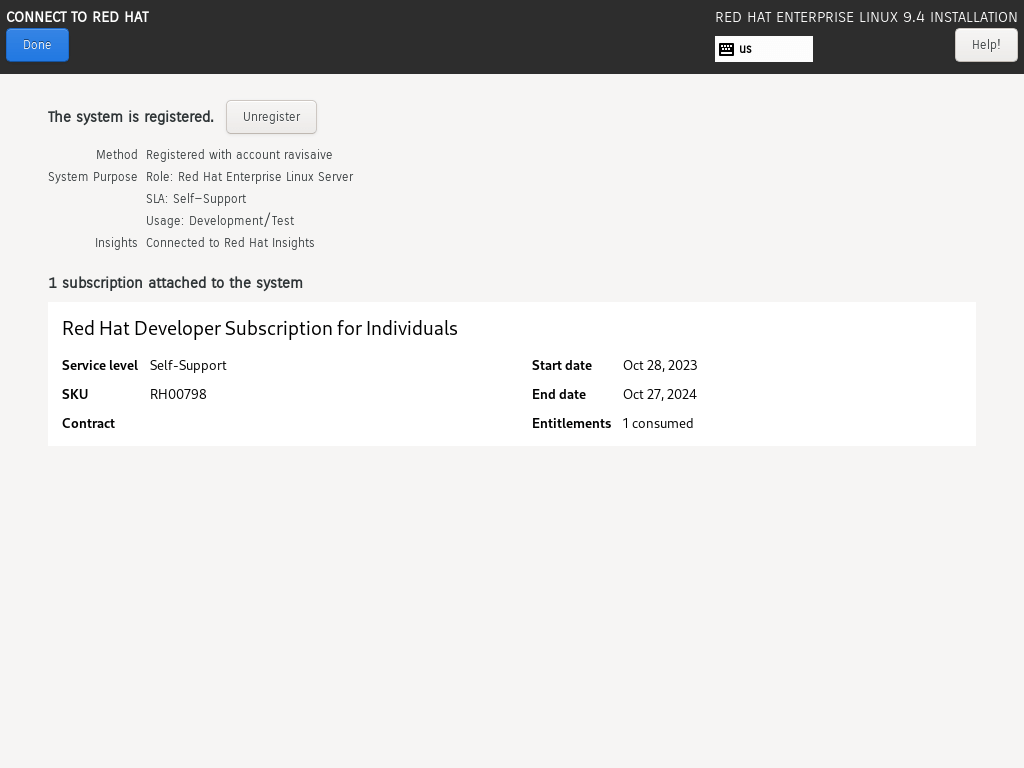
You can also optionally set the “System Purpose” by selecting the role, SLA, and usage for the system. This helps the Red Hat entitlement server automatically attach the most appropriate subscription.
Once you’ve entered the authentication details, click “Register” to connect the system to your Red Hat account.
After successful registration, a “Registered” message will be displayed under the “Connect to Red Hat” option on the Installation Summary screen.

Step 5: RHEL Software Selection
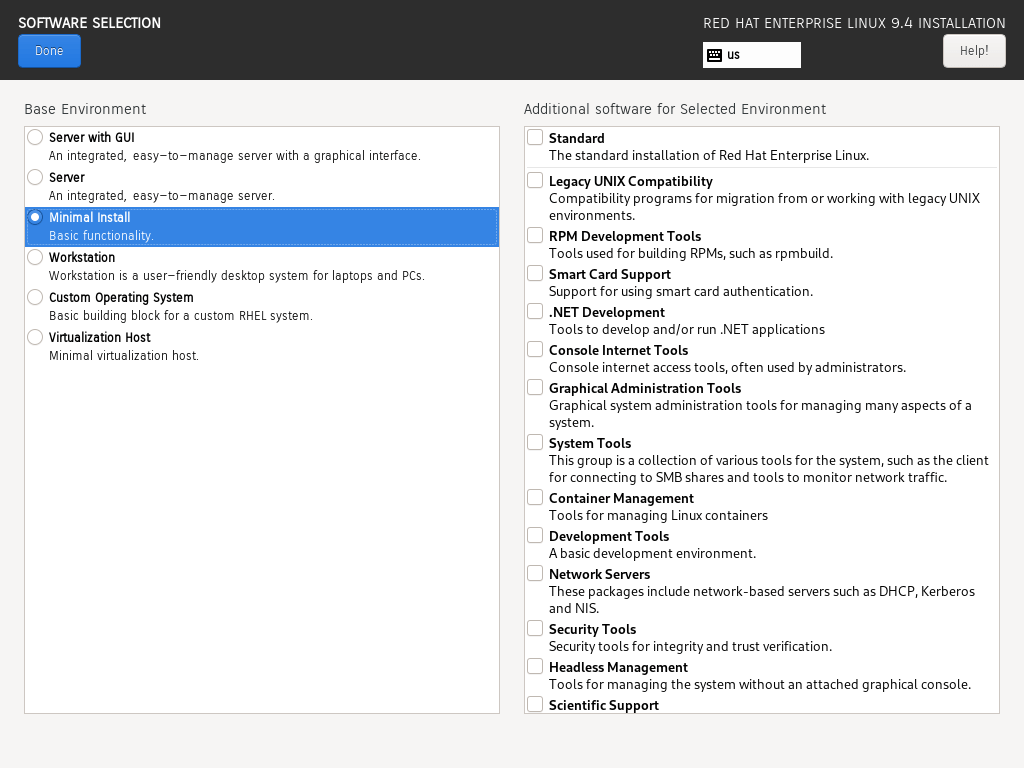
To select the software packages to install during the RHEL 9 installation process, select the “Software Selection” option.
In the Software Selection window, you can choose from several base environments, such as:
- Server with GUI (default)
- Server
- Minimal Install
- Workstation
- Custom operating system
- Virtualization Host
Select the base environment that best suits your needs. For example, choose “Minimal Install” if you want a basic RHEL 9 system with only essential packages.
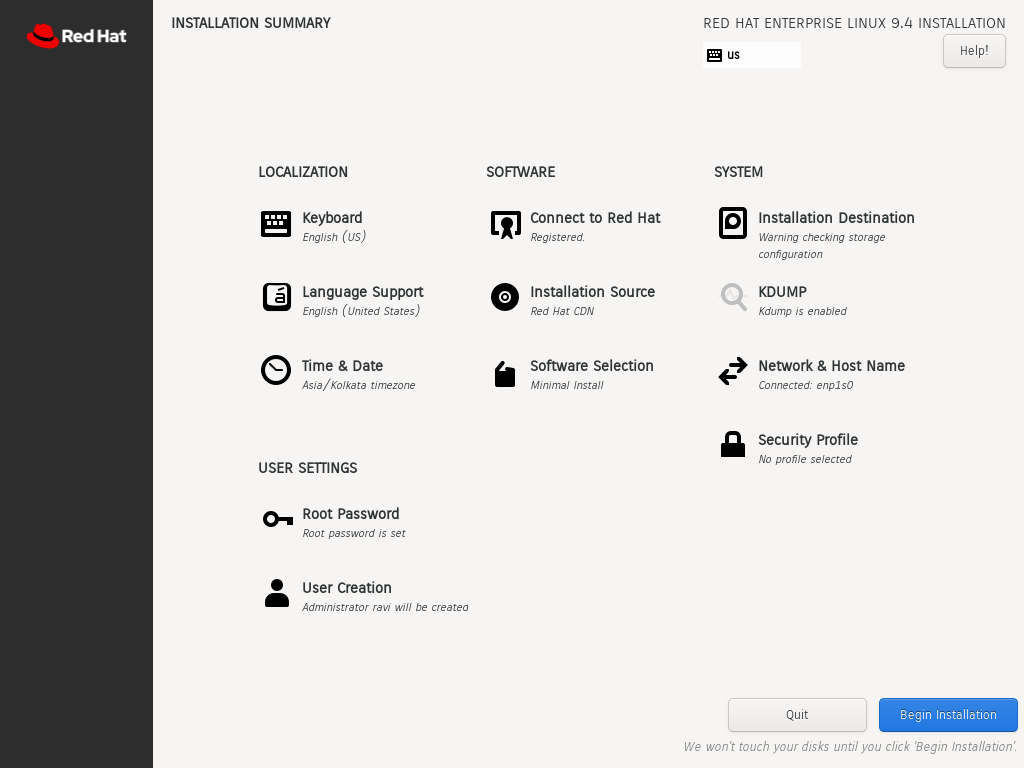
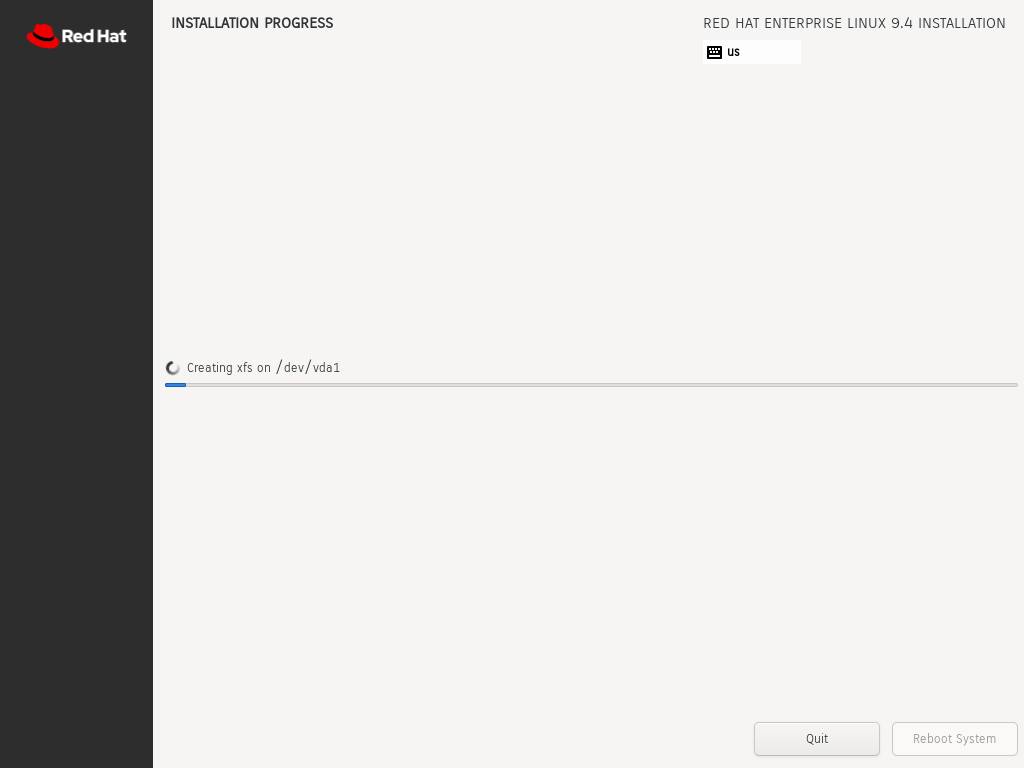
Now, we’re ready to start the installation process. Just click on ‘Begin Installation‘.
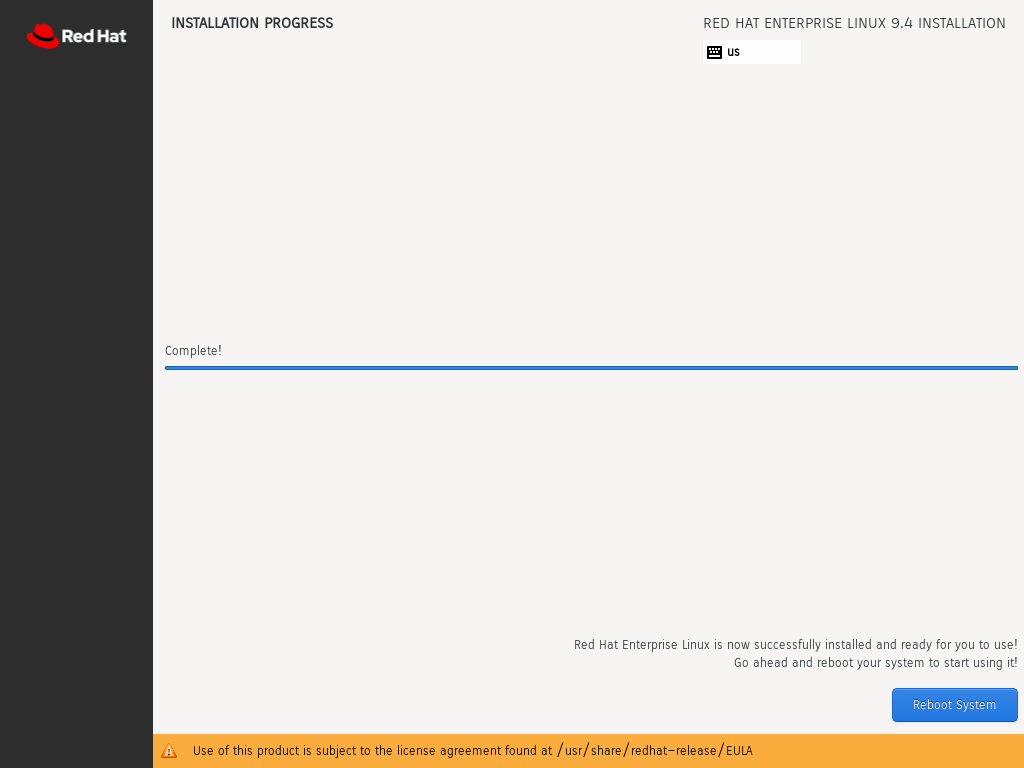
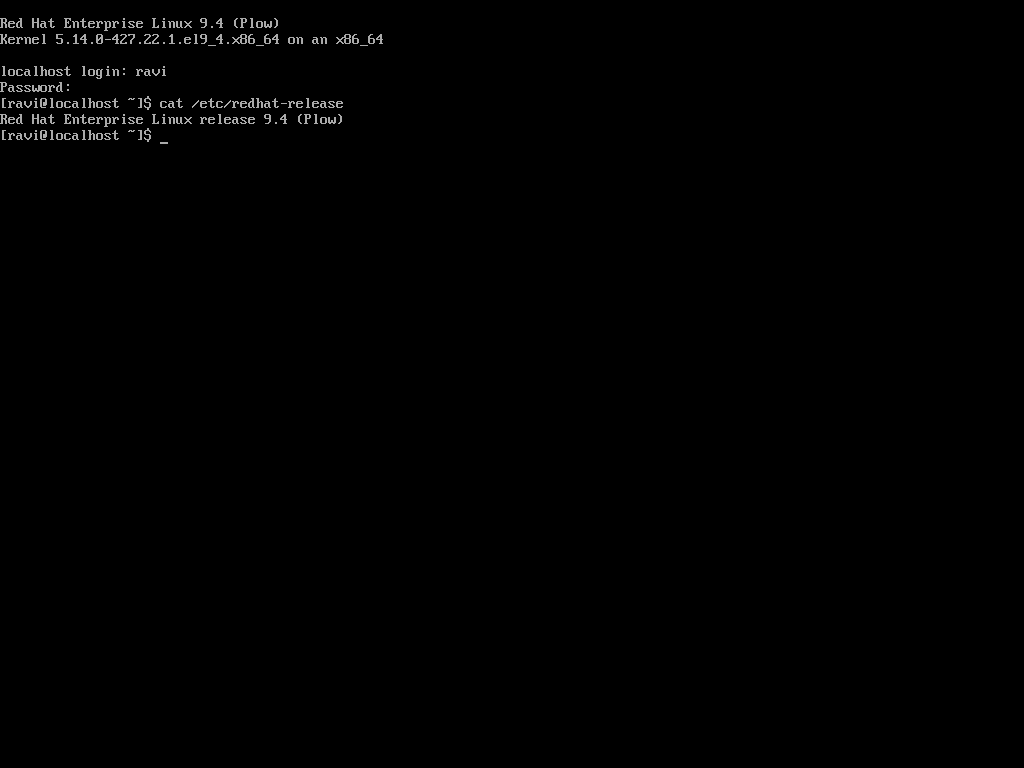
Once the installation is complete, you’ll be prompted to reboot your system. After the reboot, you’ll be presented with the RHEL 9 login screen. Log in using the non-root user account you created during the installation.
Step 6: Post-Installation Tasks
After installing RHEL 9, here are some recommended tasks to prepare for the RHCSA exam:
Run the following command to update your RHEL 9 system to the latest packages:
sudo dnf update -y
Depending on your needs, you may want to install additional packages for your RHCSA exam preparation. For example, you can install the vim text editor, curl, wget, tar, and rsync.
sudo dnf install -y vim curl wget tar rsync
Enable the firewall (firewalld) and configure it to allow the necessary services for your RHCSA exam preparation.
sudo systemctl enable --now firewalld
sudo firewall-cmd --permanent --add-service=ssh
sudo firewall-cmd --reload
If you plan to use virtual machines for your RHCSA exam preparation, you can install the necessary virtualization tools, such as libvirt and virt-manager.
sudo dnf install -y libvirt virt-manager
Conclusion
With these steps, you should have a fully functional RHEL 9 system that you can use for your RHCSA exam preparation. Remember to practice the various tasks and objectives covered in the RHCSA exam, such as managing users and groups, configuring storage, and troubleshooting system issues.
For comprehensive RHCSA exam preparation, we have created a comprehensive ebook titled ‘RHCSA Exam Study Guide‘, covering all the objectives with practical examples.
Good luck with your RHCSA exam preparation!