
The .NET platform is a powerful framework developed by Microsoft for building and running applications on various platforms, including Linux.
Installing .NET on Ubuntu is straightforward and allows you to develop and run .NET applications seamlessly.
Installing .NET on Ubuntu
Before installing any new software, it’s a good idea to update your package lists to ensure you have the latest information about available packages and their versions.
sudo apt update
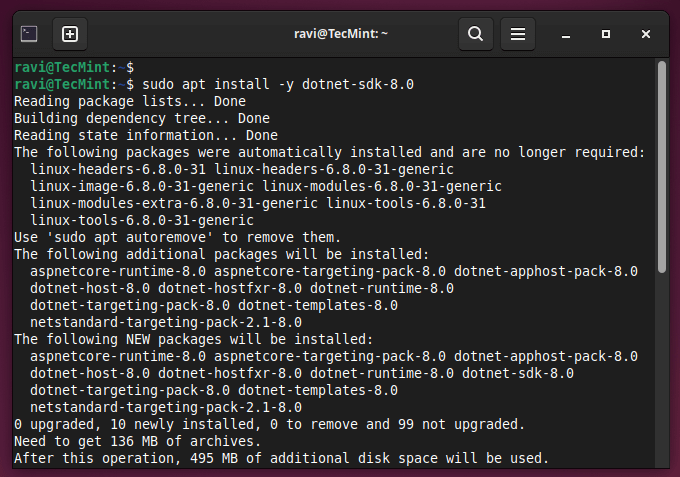
Next, install .NET SDK (Software Development Kit) which has everything that you need to build and run .NET applications.
sudo apt install -y dotnet-sdk-8.0
If you prefer to install a different version of the .NET SDK, simply replace 8.0 in the command with the version number you need, such as 6.0.
In addition to the SDK, you may also need to install the .NET Runtime if you’re running applications that were built with .NET but don’t include the runtime.
sudo apt install -y aspnetcore-runtime-8.0
This will install the ASP.NET Core Runtime, which is the most compatible runtime for .NET 8.0. Alternatively, you can install the .NET Runtime without the ASP.NET Core components by using the following command.
sudo apt install -y dotnet-runtime-8.0
After installing the .NET SDK and/or Runtime, you can verify the installation by running the following command:
dotnet --version
You can also try creating a new .NET project to ensure that the installation was successful.
dotnet new console -o my-app
cd my-app
dotnet run
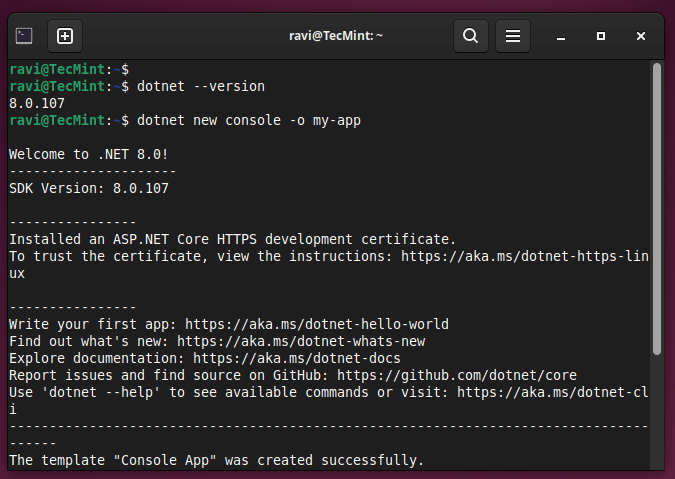
This will create a new .NET Console application, navigate to the project directory, and run the application. If everything is set up correctly, you should see the default “Hello, World!” output in the terminal.
Install Visual Studio Code (VS Code) in Ubuntu
If you prefer to use a lightweight code editor with excellent support for .NET development, you can install Visual Studio Code.
sudo apt install software-properties-common apt-transport-https wget -y
wget -q https://packages.microsoft.com/keys/microsoft.asc -O- | sudo apt-key add -
sudo add-apt-repository "deb [arch=amd64] https://packages.microsoft.com/repos/vscode stable main"
sudo apt update
sudo apt install code
code --version
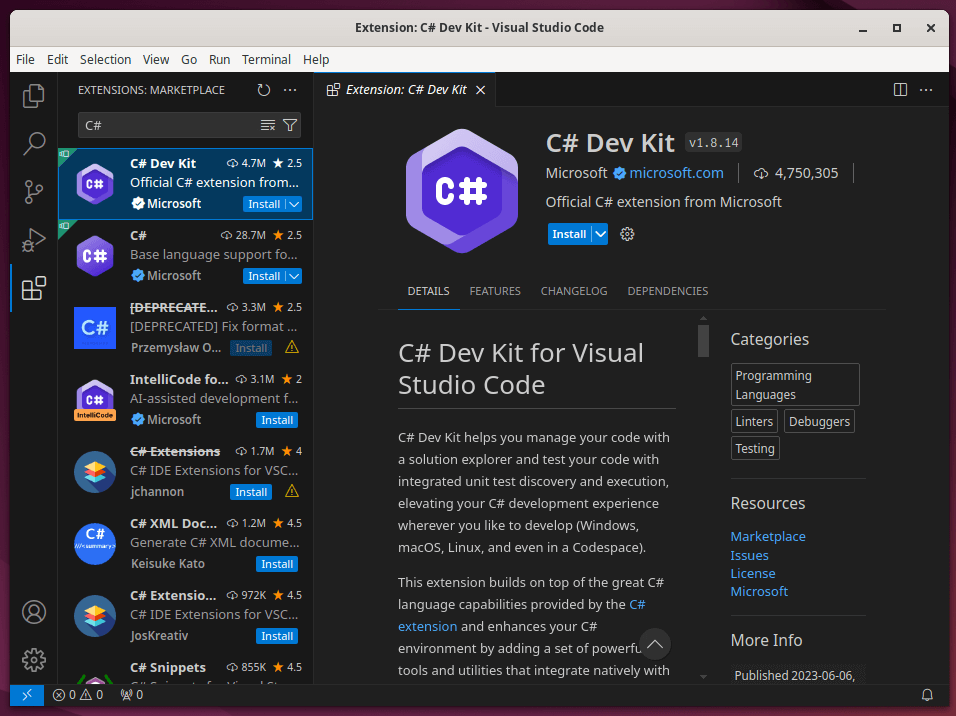
Open VS Code, go to the Extensions view (Ctrl+Shift+X), and search for “C#” and install the extension provided by Microsoft.
You’re now ready to start developing .NET applications on your Ubuntu system. Create a new project or open an existing one using the dotnet new and dotnet build commands in your terminal.
Conclusion
Installing .NET on Ubuntu enables you to leverage the power of .NET for building robust applications on Linux. With these steps, you should have a working .NET development environment ready to go.