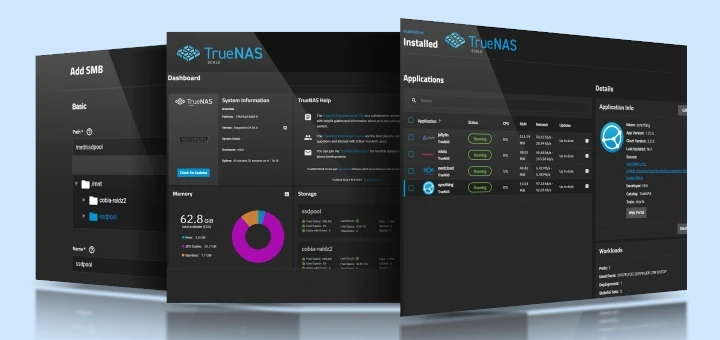
TrueNAS CORE (formerly FreeNAS) is a popular storage system that helps you build your own high-quality storage setup without paying for software. You can install it on your computer hardware or a virtual machine (VM) to get the benefits of open-source storage.
You can use TrueNAS CORE at home, in an office, or in a data center for storing and managing large amounts of data. It’s useful for IT professionals, photographers, designers, audio/video producers, developers, and anyone who needs to store and protect lots of data. You can also use it with backup software to save large amounts of rarely used data and even sync it with the cloud.
TrueNAS CORE uses the OpenZFS filesystem, which is known for its reliability and was once only found in high-end storage systems. OpenZFS includes features like built-in RAID, powerful data management tools, and the ability to automatically fix data errors.
System Requirements
Before installing TrueNAS CORE, ensure that your hardware meets the following requirements:
- TrueNAS CORE requires a 64-bit CPU.
- A minimum of 8 GB of RAM is recommended; more is preferable for better performance.
- At least 16 GB for the installation.
- Additional drives for storing data, with capacity based on your needs.
- At least one Ethernet port (no wireless support).
In this TrueNAS CORE 4-article series, we will cover the installation and configuration of TrueNAS with storage, and in later articles will cover setting up a video streaming & torrent server.
My Server Setup
Hardware		:	Virtual Machine 64-bit
Operating System        :	TrueNAS-13.0-U6.2.iso
IP Address	      	:	192.168.100.143
8GB RAM		        :	Minimum RAM
1 Disk (20GB)	      	:	Used for OS Installation
8 Disks (5GB)		:	Used for Storage
Step 1: Create TrueNAS Bootable Media
To set up a TrueNAS operating system, you will need to download the latest stable installation ISO Image (i.e. version 13.0-U6.2) from the TrueNAS download page, or you can use the following wget command to download directly in the terminal.
wget https://download-core.sys.truenas.net/13.0/STABLE/U6.2/x64/TrueNAS-13.0-U6.2.iso
Next, insert your USB stick into your computer and create a bootable image using the USB creation tool or use a tool like the dd command as shown.
sudo dd if=TrueNAS-13.0-U6.2.iso of=/dev/sdX bs=4M status=progress && sync
Step 2: Install TrueNAS Distribution
Now that you have created a bootable USB drive, you need to boot from it by selecting the system’s boot options (usually by pressing F2, F12, or the Del key) and select the USB Drive as the boot device.
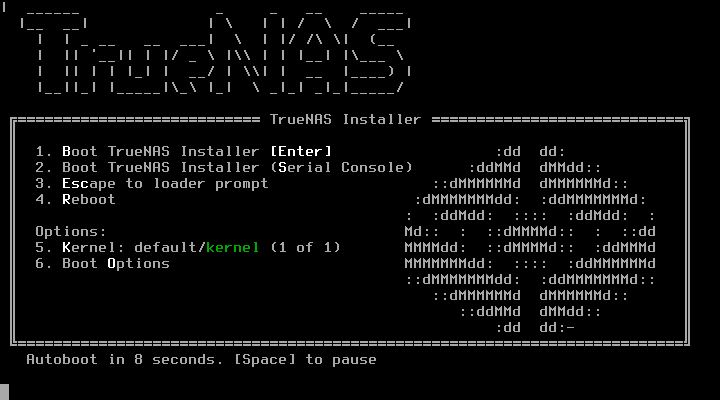
Once you have booted from the USB drive, you can start the installation process by choosing the “Boot TrueNAS Installer” option.
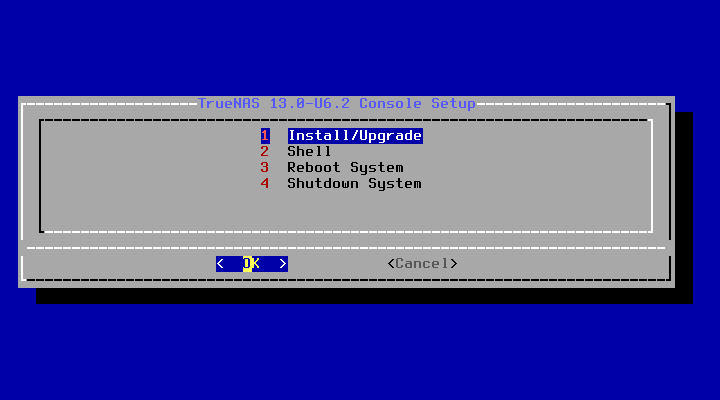
Select the Install/Upgrade option.
Next, you need to choose the desired install drive from the listed drives.
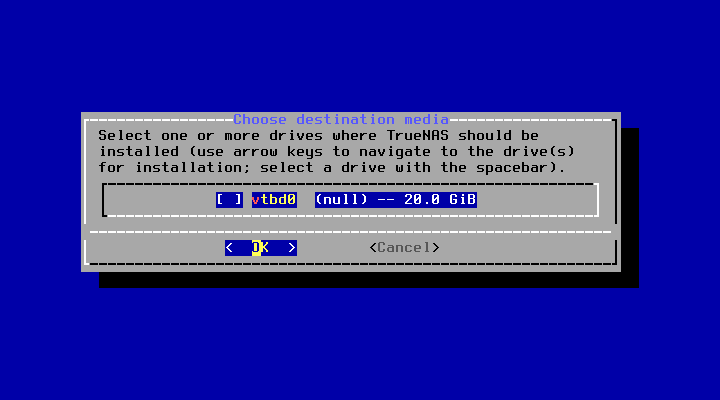
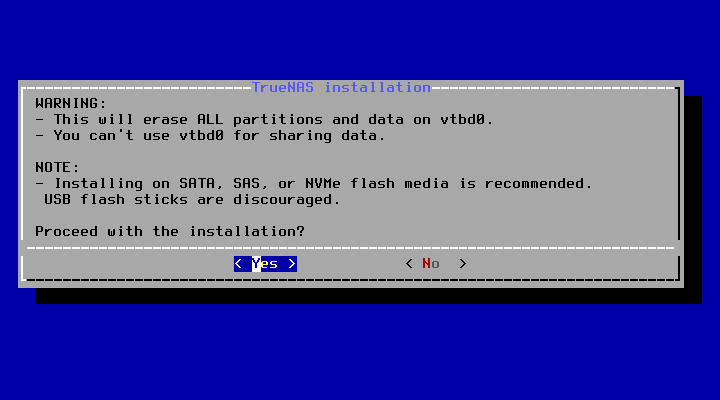
After selecting the drive, on the next screen, you will warned of data loss, if you have any important data in that selected drive, please take a backup before installing TrueNAS on the drive.
After pressing ‘Yes‘ all the data in that drive will be destroyed during installation.
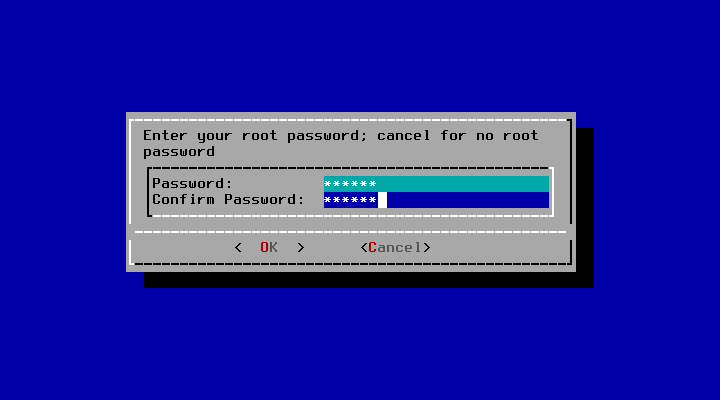
Next, set a password for the TrueNAS administrative account, named root by default.
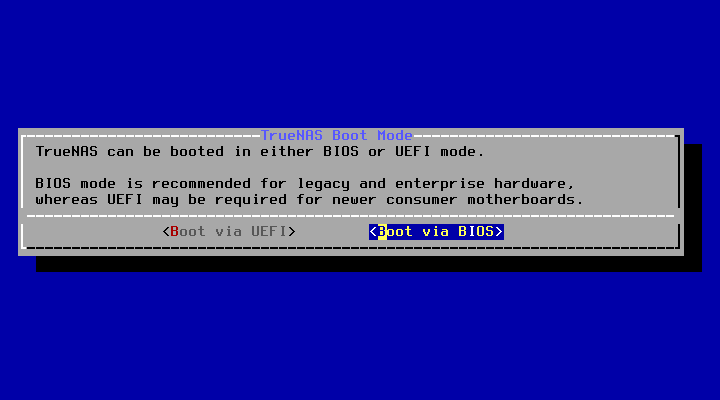
You can choose between UEFI or Legacy BIOS mode. Select the mode that matches your hardware configuration (Legacy BIOS is commonly used).
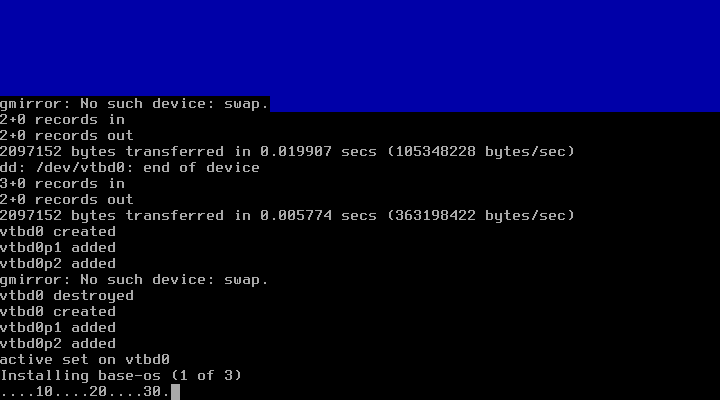
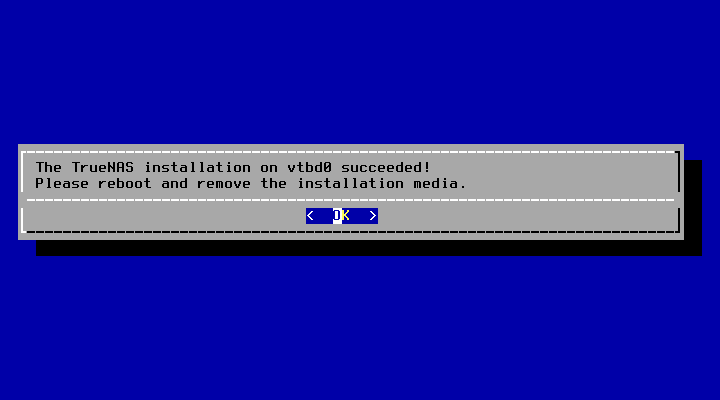
The installation will proceed, and once completed, you will be prompted to remove the installation media.
On the next screen, choose the 3rd option to reboot the machine and remove the setup disk.
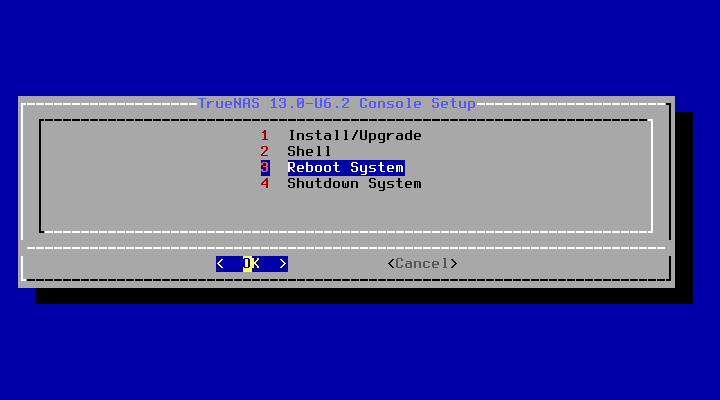
After the TrueNAS setup is completed, we can get the console setup menu to add the DNS IP Address to access the TrueNAS web dashboard.
http://192.168.122.143
https://192.168.122.143
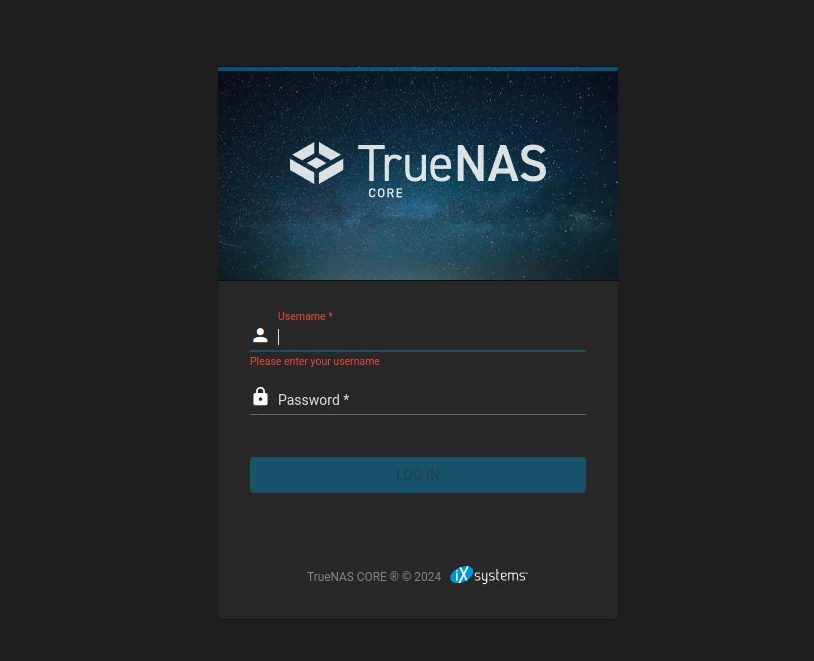
The next step is to log in to the web interface using the administrative account credentials and begin configuring the system.
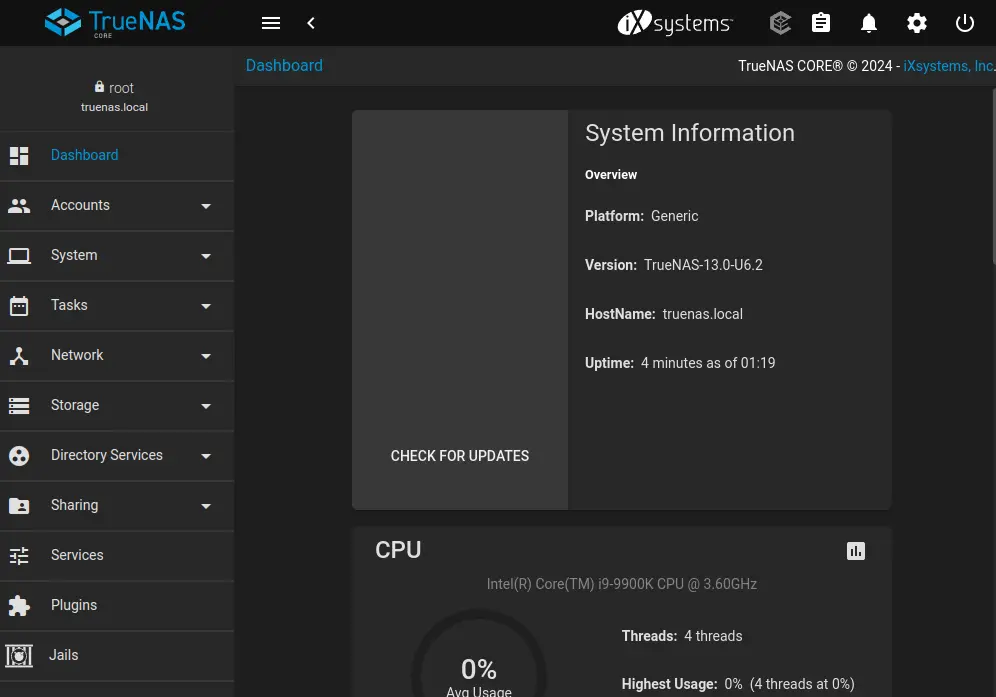
After login, you will see information about the TrueNAS server such as domain name, version, total memory available, system time, uptime, system load, etc.
That’s it! In this article, we’ve installed and configured the TrueNAS server. In the next article, we will discuss how to configure TrueNAS settings step by step and how to define storage in TrueNAS.