Passwords are the primary criterion for system security in most systems. When it comes to Linux, knowing the root password gives you complete control over the machine. Passwords serve as a security measure for BIOS, login, disk, applications, and more.
Linux is considered to be one of the most secure operating systems against hacking or cracking, and it generally is. However, we will discuss some of the vulnerabilities and exploits of a Linux system.
We will be using RHEL Linux throughout the article as an example to test and crack our own machine’s security.
How to Access Linux Server Without Root Access
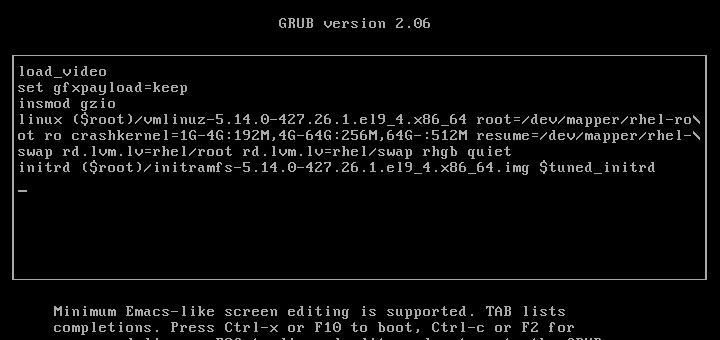
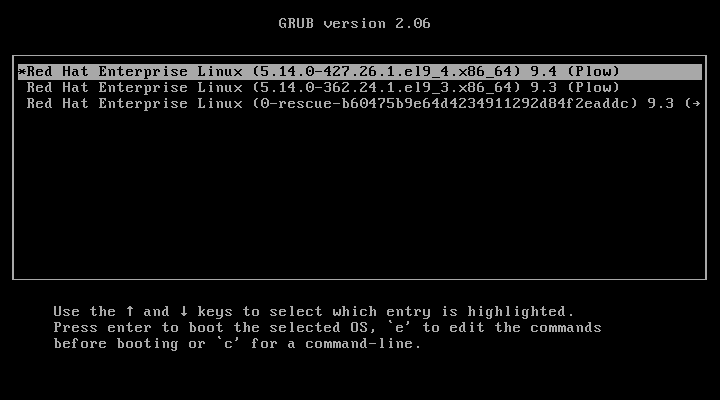
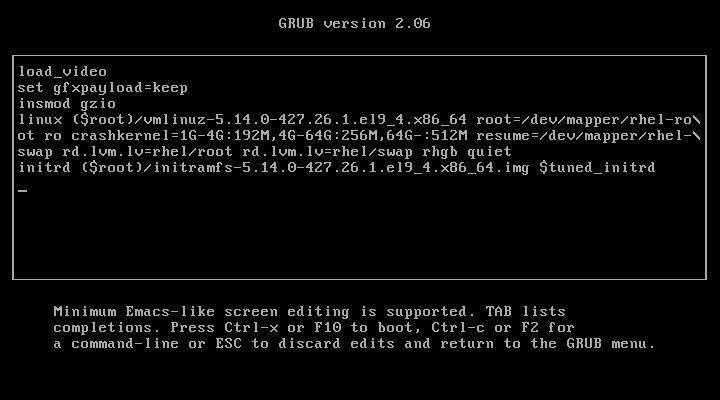
When the Linux machine starts, press any key to interrupt the boot process, and you will see the GRUB menu.
Press ‘e‘ to edit and go to the line starting with kernel and add ‘rd.break‘ at the end of the line (after the blank space) forcing it to start in emergency user mode and thus prohibiting it from entering the default run-level.
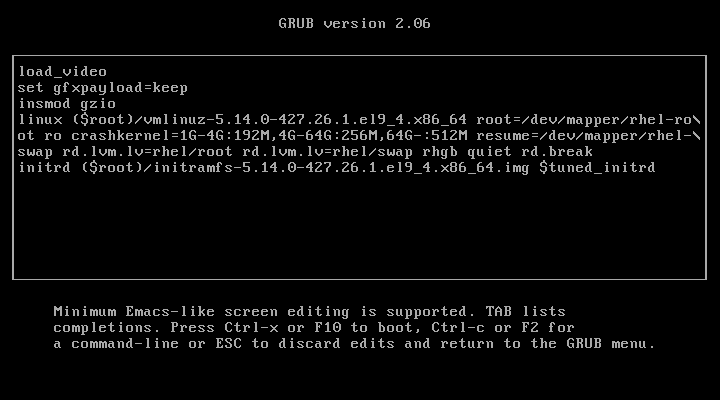
After adding ‘rd.break‘ at the end of the line, press Ctrl+X or F10 to boot with the modified kernel options into emergency user mode.
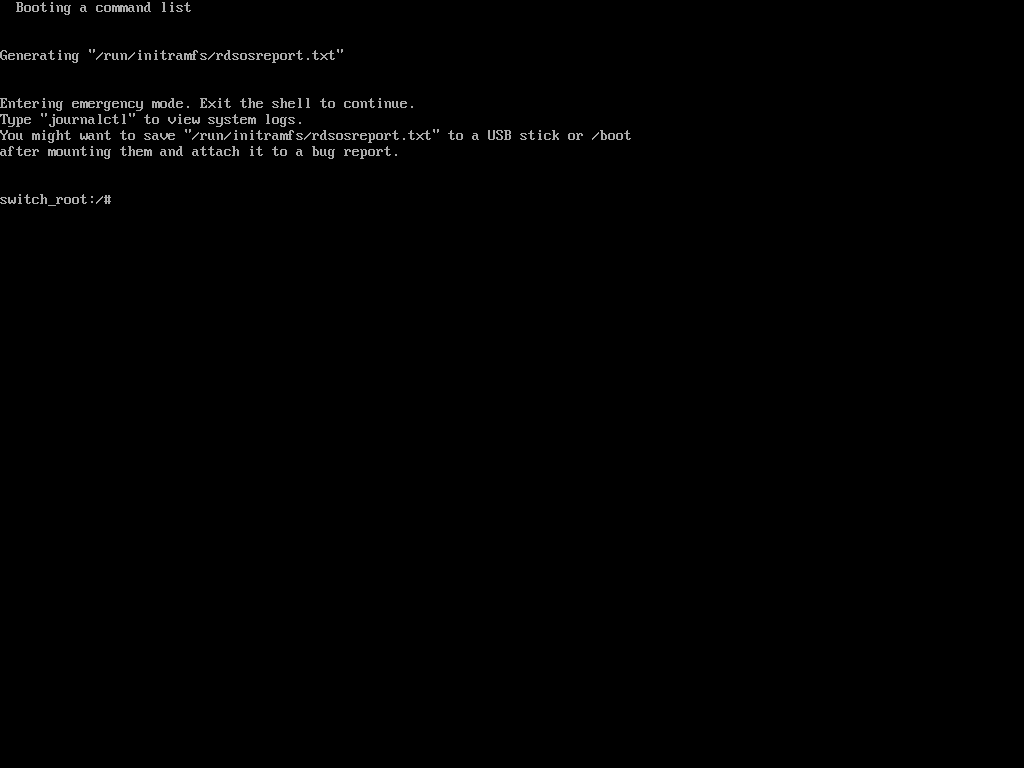
Once in emergency user mode, you’ll be dropped to a root shell prompt, where you need to remount the root filesystem in read-write mode and change into the sysroot environment.
mount -o remount,rw /sysroot
chroot /sysroot
Next, use the passwd command to reset and confirm the root password with the new one.
passwd

If the above ‘passwd‘ command doesn’t work for you and you don’t get any output, it means that your SELinux is in enforcing mode. You need to disable it first before proceeding further.
setenforce 0
Then run the ‘passwd‘ command to change the root password.
passwd
At this point, you have successfully reset your root user password. The only remaining part is to relabel all of the files with the accurate SELinux contexts.
touch /.autorelabel
Finally, type exit and then log out to start the SELinux relabelling process.
exit
This generally takes a few minutes and once done, the system will reboot and prompt you to log in as the root user with the new password.
Hacking a Linux box was surprisingly easy, wasn’t it? Imagine the panic if someone did this to your server. Now, let’s learn how to protect our Linux machine from unauthorized modifications using single-user mode.
Password Protect Single User Mode in Linux
To password-protect Single User Mode, specific configurations need to be made to ensure that unauthorized access is prevented, which is particularly important for maintaining system security, as Single User Mode can provide unrestricted access to the root account.
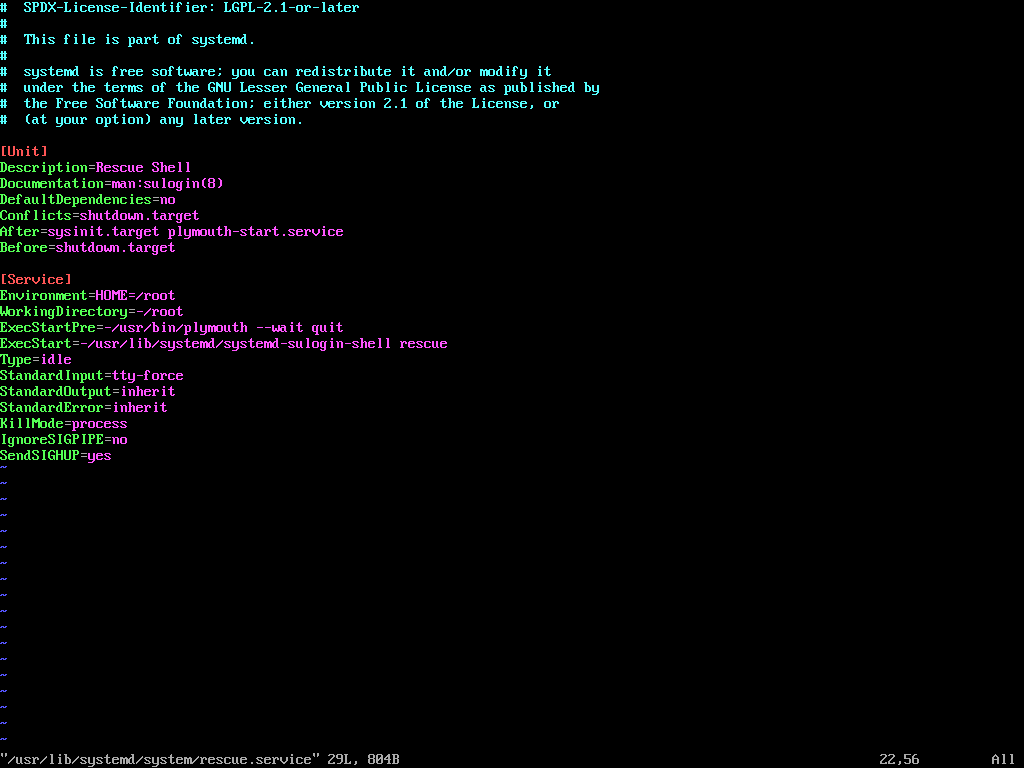
To enforce password protection in Single User Mode, you need to modify the rescue.service file.
sudo vi /usr/lib/systemd/system/rescue.service
Look for the line that starts with ExecStart. If it does not include the sulogin command, you will need to add or modify it to look like this.
ExecStart=-/usr/lib/systemd/systemd-sulogin-shell rescue
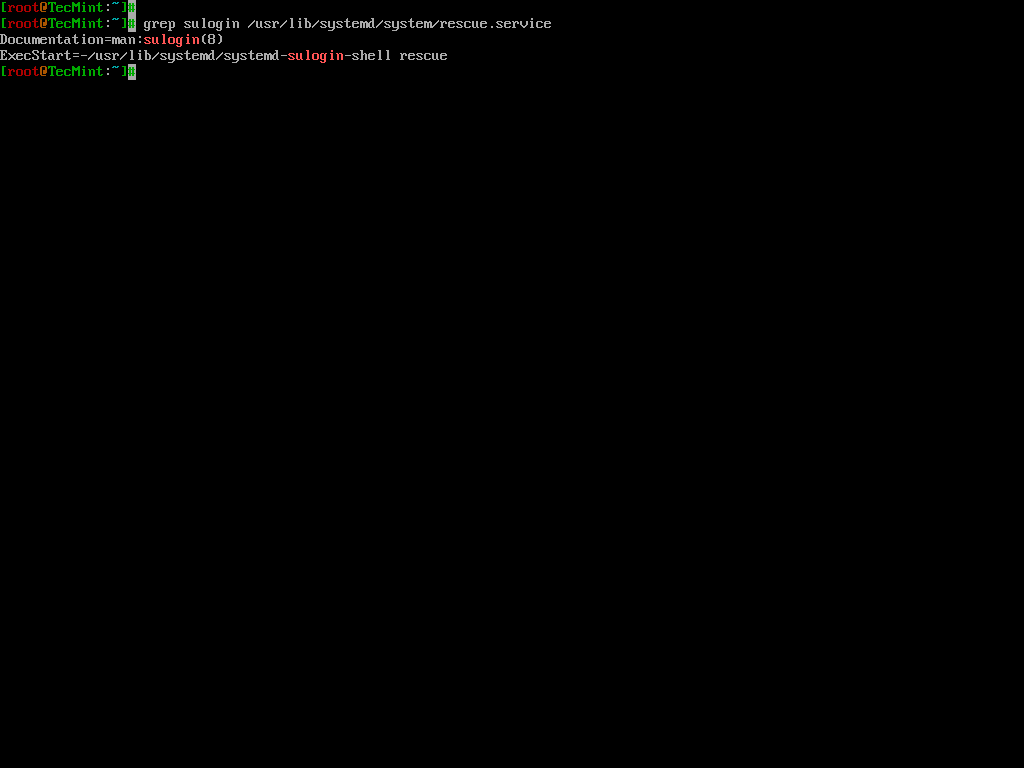
After making changes, it is essential to verify that the configuration is correctly set.
grep sulogin /usr/lib/systemd/system/rescue.service
The output should confirm that the sulogin command is present in the ExecStart line.
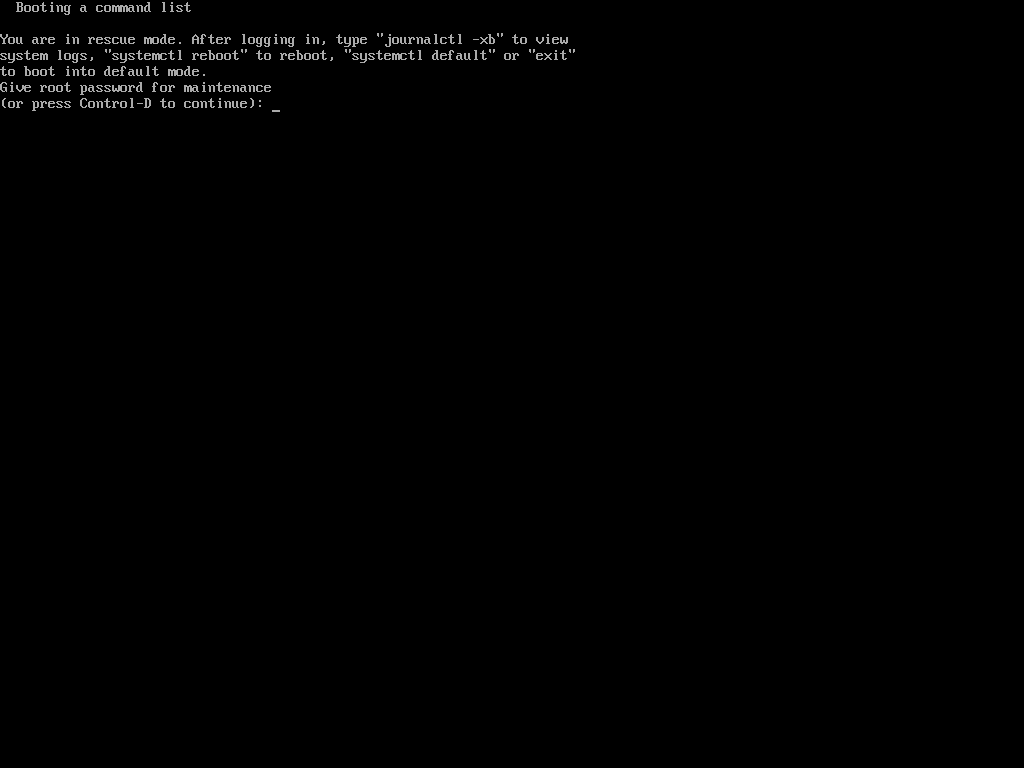
Once the configuration is complete, reboot the system to apply the changes. After rebooting, attempt to enter Single User Mode to confirm that the password prompt appears.
Hack Your Linux System Without Using Single User Mode
OK, so you might be feeling better knowing your system is secure. However, this is only partially true. While it’s true that your Linux box can’t be easily compromised using single-user mode, there are other ways it can still be hacked.
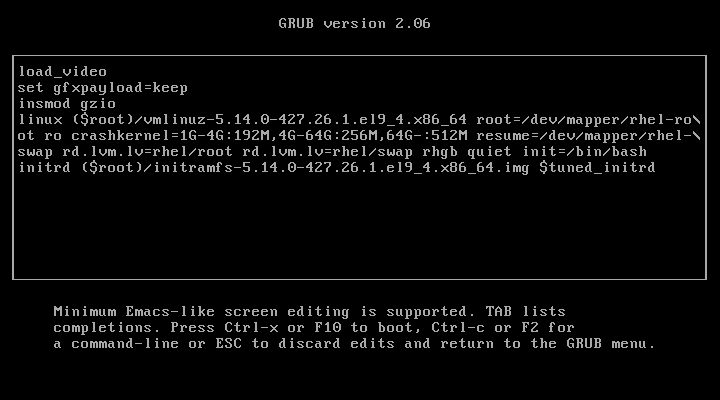
In the previous step, we modified the kernel to enter single-user mode. This time, we’ll be editing the kernel with a different parameter.
In the previous process, we added the parameter 1 to the kernel to enter single-user mode, but this time, we will add init=/bin/bash to boot into bash prompt directly.
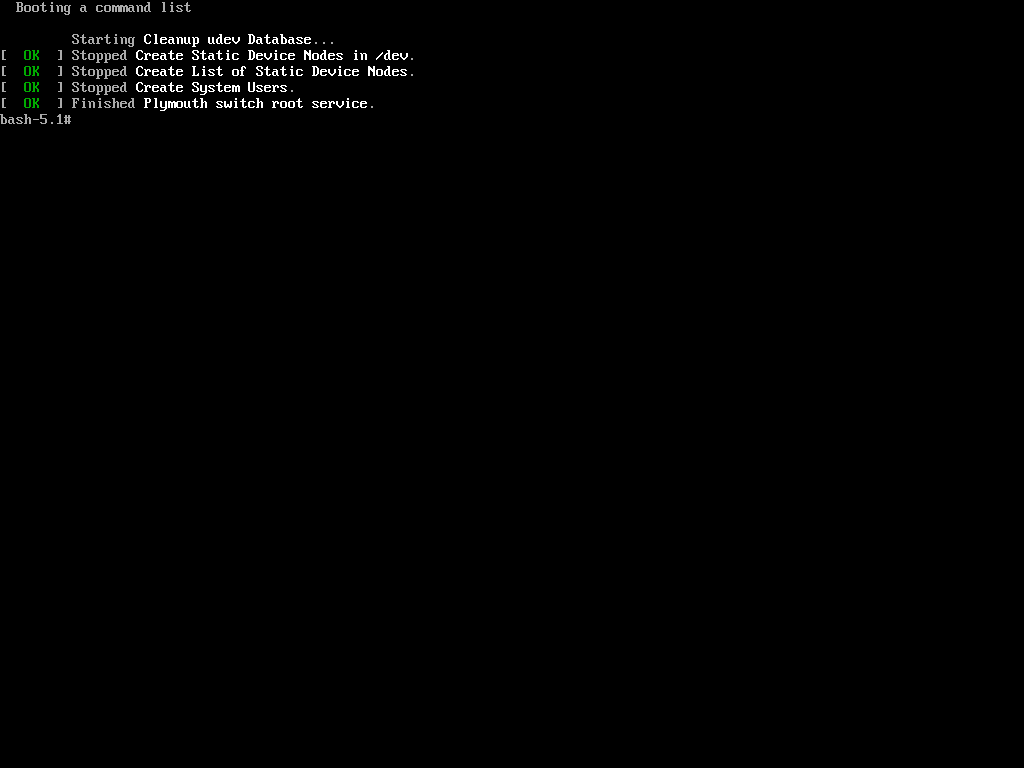
Once again, you’ve gained access to your system, the prompt confirms that the hack was successful.
Now, when trying to change the root password using the same process as in the first method with the ‘passwd‘ command, we encountered the following.
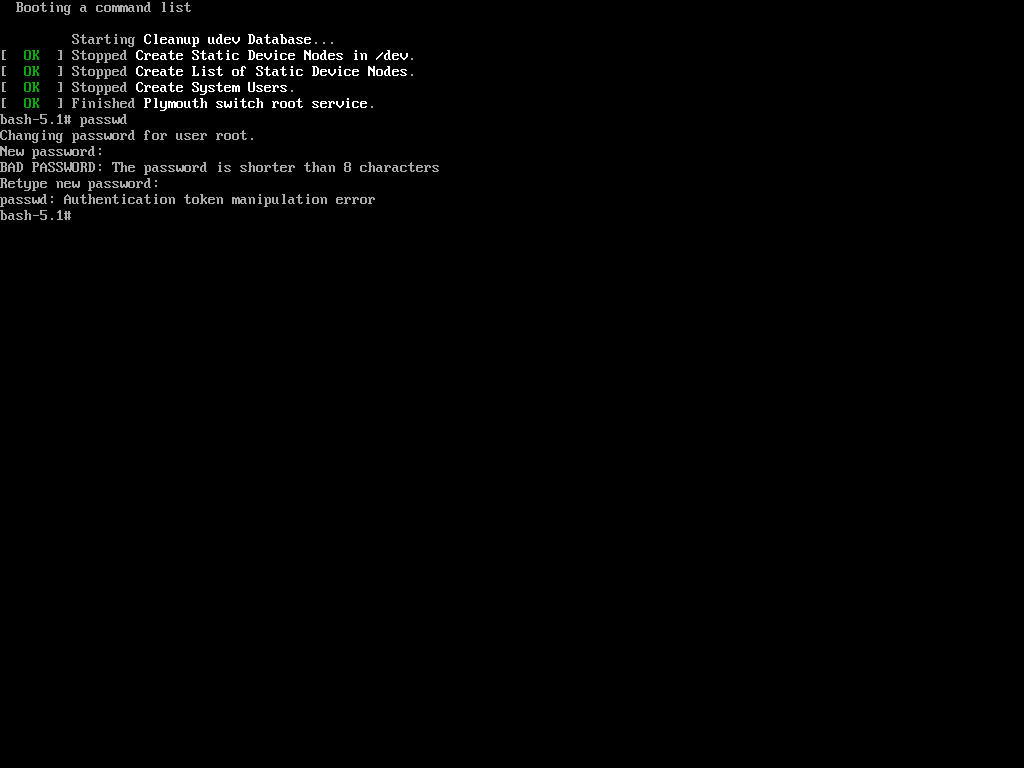
The reason is that the root (/) partition is mounted as read-only, so the password change could not be saved. The solution is to remount the root (/) partition with read-write permissions.
mount -o remount,rw /
passwd
Now again try to change the password of root using the ‘passwd‘ command.
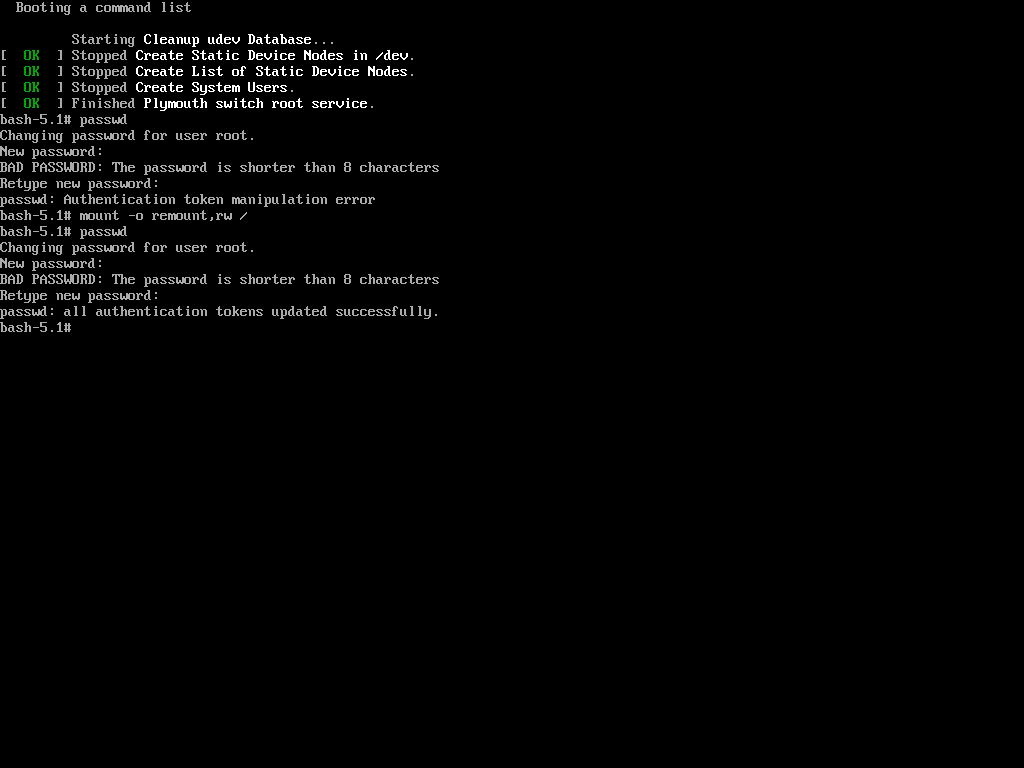
Hurrah! You’ve successfully accessed your Linux system once again. It might seem like the system is easy to exploit, but that’s not the case. The key is to properly configure your system to enhance its security.
Password Protecting the GRUB Bootloader
Both of the processes described involved tweaking and passing parameters to the kernel. To enhance the security of your Linux box and make it harder to compromise, you should prevent kernel modifications at boot.
This can be achieved by setting a password for the boot loader, specifically GRUB (note that LILO is another boot loader for Linux, but it will not be covered here).
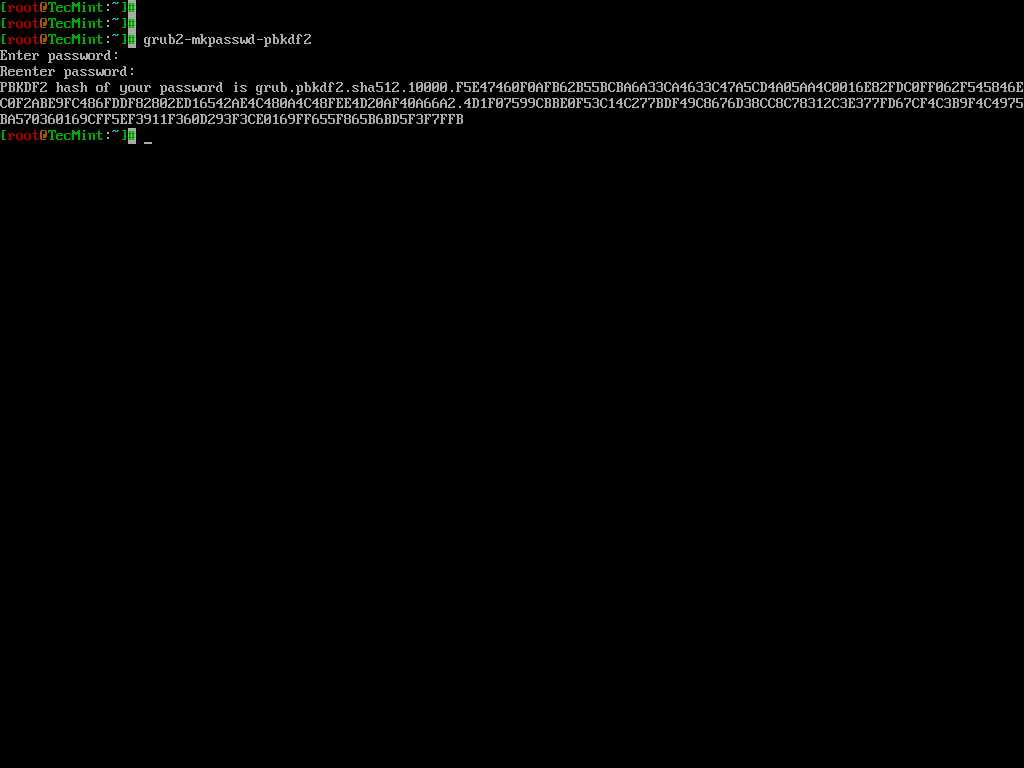
To password-protect the GRUB bootloader, you need to generate an encrypted password using the following command.
grub2-mkpasswd-pbkdf2
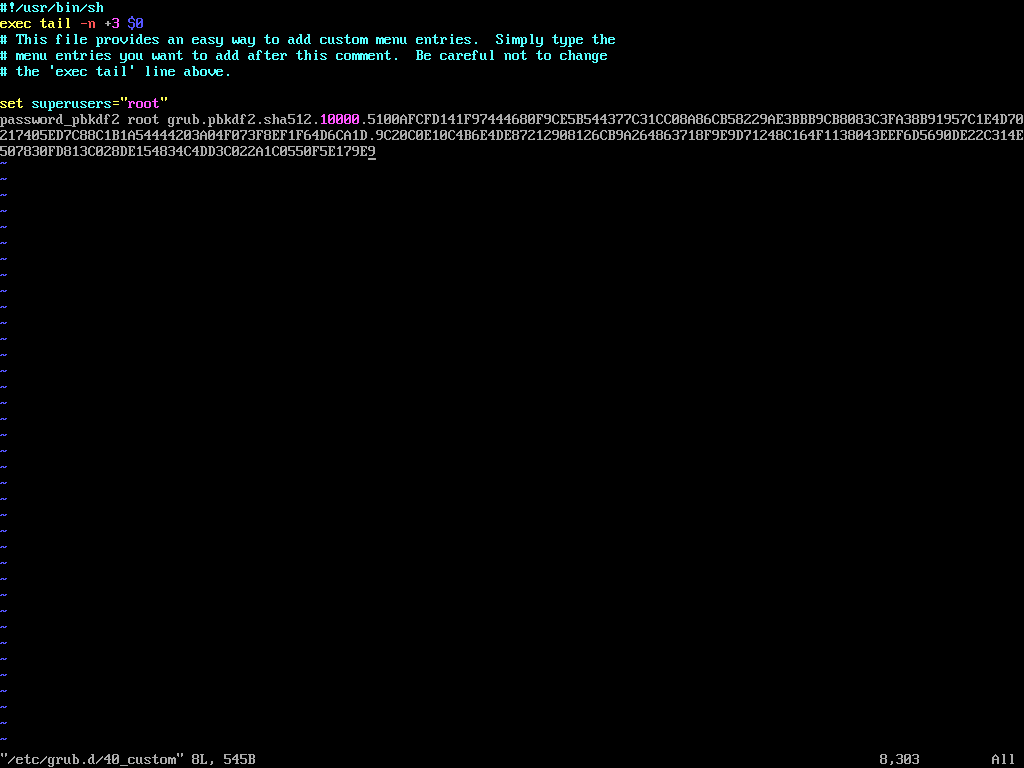
Next, edit the custom GRUB menu configuration file.
vi /etc/grub.d/40_custom
Add the following lines, replacing <encrypted_password> with the encrypted password generated in the previous step.
set superusers="root" password_pbkdf2 root <encrypted_password>
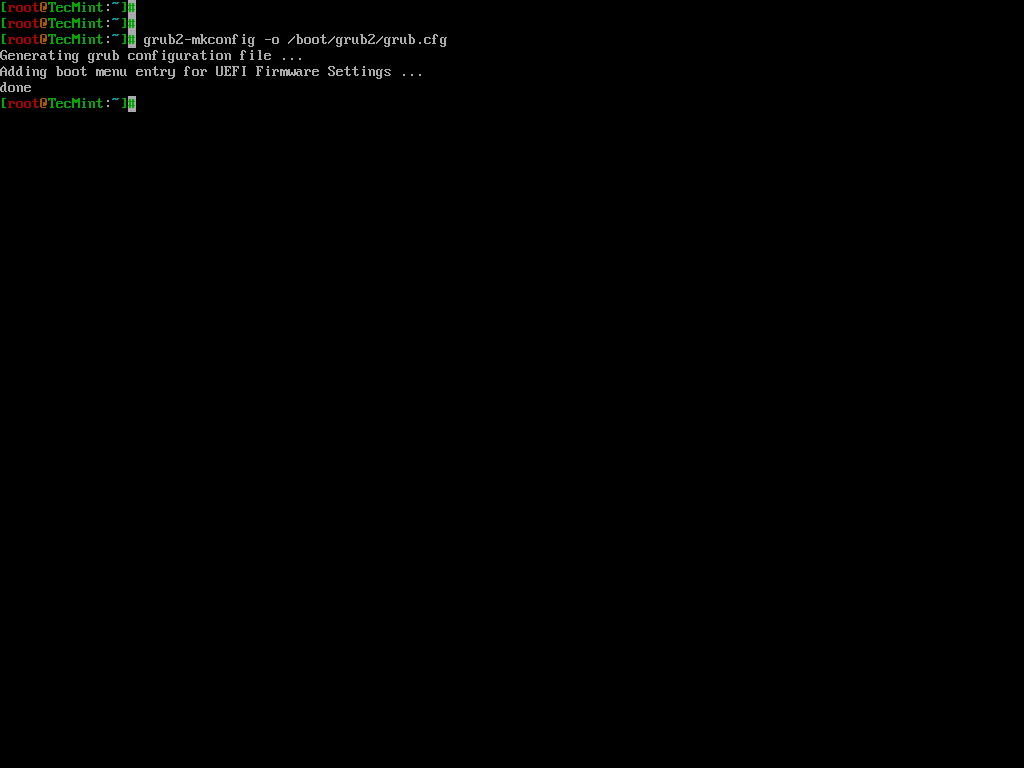
Update the GRUB configuration by running:
grub2-mkconfig -o /boot/grub2/grub.cfg
Reboot the system and, during the boot process, press 'e' to edit the GRUB menu. You will be prompted to enter the username (root) and the password you configured earlier.
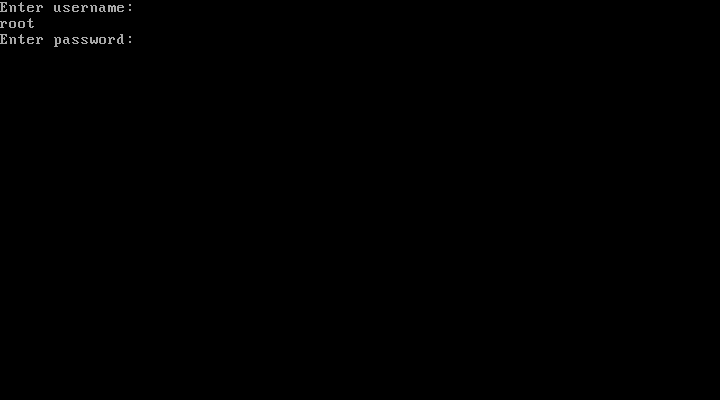
If you enter the correct password, you will be able to proceed with editing the GRUB parameters.
Now you would be breathing that your system is fully secure and not prone to hacking, however, still, the game is not over.
You better know that you can enforce rescue mode to remove and modify the password using a bootable image.
Just put your installation CD/DVD in your drive and select Rescue Installed System or use any other rescue image, you could even use a Live Linux Distro, mount the HDD and edit the ‘40_custom‘ file to remove the password line, reboot, and again you are logged in.
Conclusion
This guide was just to make you aware of facts and tell you how to secure your System. Tecmint.com and the writer of this article strongly discourage this guide as a base for exploiting other’s systems.
It is the sole responsibility of the reader if they engage in any such activity and for such kind of act neither the writer nor Tecmint.com will be responsible.
Your positive comments make us feel good and encourage us and that is always sought from you. Enjoy and Stay Tuned.