
Elgg is a powerful open-source social networking engine that enables users to create their own social networks and online communities. It’s highly customizable, making it a great choice for developers and users looking to build interactive websites.
In this guide, we will go through the entire process of installing Elgg on your Ubuntu server.
Step 1: Install Required Dependencies
First, start by updating your system to make sure all existing packages are up to date to their latest versions.
sudo apt update -y
sudo apt upgrade -y
Next, you need to install Apache (a web server), MySQL (a database server), PHP (the scripting language), and some PHP extensions to run Elgg properly on the server.
sudo apt install apache2 mysql-server php php-mysql php-xml php-mbstring php-zip php-gd php-curl php-json php-cli -y
After installing MySQL, you need to secure it by running the following security script, which will allow you to set up a root password and remove anonymous users.
sudo mysql_secure_installation
Next, we need to set up a MySQL database and user for Elgg.
sudo mysql -u root -p
CREATE DATABASE elgg_db;
CREATE USER 'your_username'@'localhost' IDENTIFIED BY 'your_password';
GRANT ALL PRIVILEGES ON elgg_db.* TO 'your_username'@'localhost';
FLUSH PRIVILEGES;
EXIT;
Step 2: Installing Elgg in Ubuntu
Now let’s download the latest version from the official Elgg download page or use the following wget command to download directly in the Apache web root directory.
cd /var/www/html/
wget https://elgg.org/download/elgg-6.0.5.zip
After downloading, unzip the file and rename the unzipped folder to the elgg directory:
sudo unzip elgg-6.0.5.zip
sudo mv elgg-6.0.5 elgg
Set the correct permissions for the Elgg directory to function correctly.
sudo mkdir /var/www/html/data
sudo chown -R www-data:www-data /var/www/html/data/
sudo chown -R www-data:www-data /var/www/html/elgg
sudo chmod -R 755 /var/www/html/elgg
Step 3: Configure Apache for Elgg
Create a new Apache configuration file to serve the Elgg application.
sudo nano /etc/apache2/sites-available/elgg.conf
Add the following configuration into the file (replace example.com with your actual domain):
<VirtualHost *:80>
    ServerAdmin [email protected]
    DocumentRoot /var/www/html/elgg
    ServerName example.com
    <Directory /var/www/html/elgg>
        Options Indexes FollowSymLinks MultiViews
        AllowOverride All
        Require all granted
    </Directory>
    ErrorLog ${APACHE_LOG_DIR}/error.log
    CustomLog ${APACHE_LOG_DIR}/access.log combined
</VirtualHost>
Next, you need to enable the new site, and required modules and restart the Apache service to apply changes:
sudo a2ensite elgg.conf
sudo a2enmod rewrite
sudo systemctl restart apache2
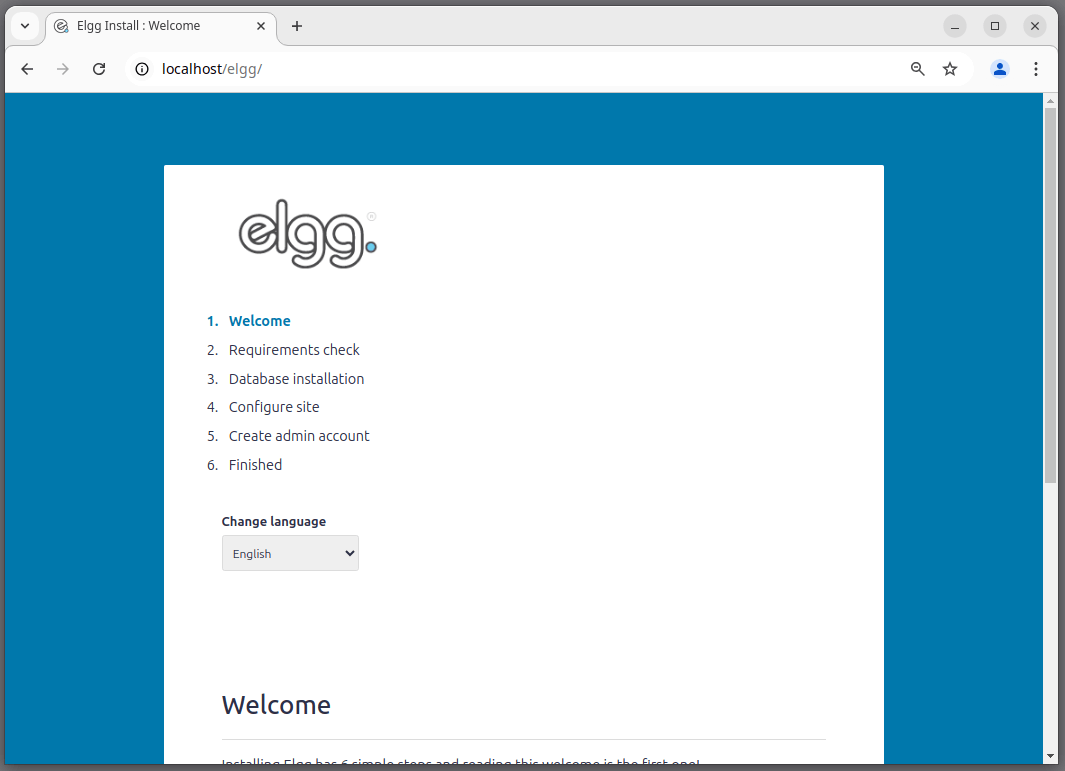
Step 4: Complete Elgg Installation via Web Interface
Now that everything is set up, open your web browser and navigate to http://localhost/elgg to complete the installation through the web interface.
Once you complete these steps, click on “Go to site” to access your newly installed Elgg platform.

Step 5: Elgg Post-Installation Setup
After installing Elgg, you should perform a few post-installation tasks:
For security reasons, it’s a good practice to remove the installation directory.
sudo rm -rf /var/www/elgg/installer
To secure your site, you can set up SSL using Let’s Encrypt.
sudo apt install certbot python3-certbot-apache -y
sudo certbot --apache
Follow the prompts to secure your site with SSL.
Now you can access your Elgg site through https by going to your domain name or IP address in your web browser.
https://localhost/elgg
You have successfully installed Elgg on Ubuntu, now you can use this powerful platform to create social networks tailored to your needs. You can now explore its features, customize it further, and start building your online community.