OpenLDAP is an open-source implementation of the Lightweight Directory Access Protocol (LDAP), which provides a way to manage and access directory information, making it particularly useful for authentication and centralized data storage.
phpLDAPadmin is a web-based graphical user interface for managing OpenLDAP servers, which simplifies the administration of LDAP directories by providing an easy-to-use interface for common tasks such as user management, schema management, and search capabilities.
In this article, we will demonstrate how to install and configure an OpenLDAP server and manage it using phpLDAPadmin on Ubuntu and Debian-based distributions.
Step 1: Set the Hostname
Setting the hostname for your LDAP server is essential for identification, ease of access, security, and overall management.
sudo hostnamectl set-hostname ldap.tecmint.com
Next, add this hostname to your /etc/hosts file:
echo "192.168.122.100 ldap.tecmint.com" | sudo tee -a /etc/hosts
Replace 192.168.122.100 with your server’s IP address.

Step 2: Installation of OpenLDAP Server
By default, the OpenLDAP server is available in the repositories under the package name slapd, which can be easily installed using the apt package manager.
sudo apt update
sudo apt install slapd ldap-utils
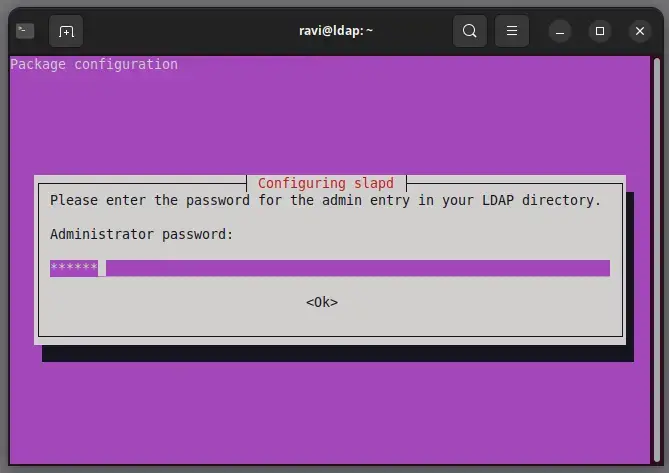
During the installation, you will be prompted to set an admin password for your OpenLDAP server. Make sure to remember this password, as you will need it later.
Once the installation is complete, you can configure the OpenLDAP server.
Step 3: Configure OpenLDAP Server
To configure the OpenLDAP server, edit the ldap.conf file, located in the /etc/ldap directory using your favourite text editor.
sudo nano /etc/ldap/ldap.conf
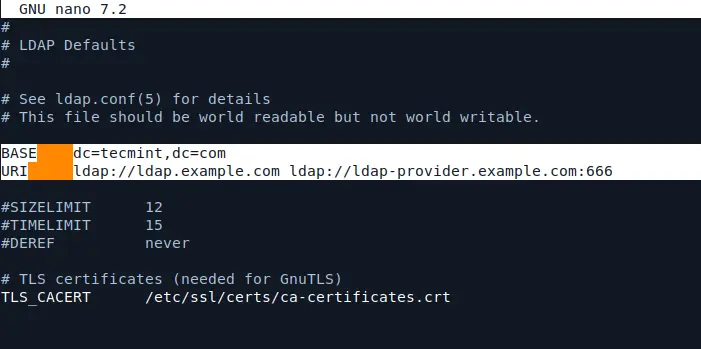
In the configuration file, you will see comments and example settings. Look for the lines that specify BASE and URI and uncomment them. Modify these lines with your own domain name and IP address.
For this example, we’ll use tecmint.com as the domain name.
BASE   dc=tecmint123,dc=com
URI    ldap://ldap.example.com ldap://ldap-master.example.com:666
After making the changes, save the file and run the following command to reconfigure the LDAP package:
sudo dpkg-reconfigure slapd
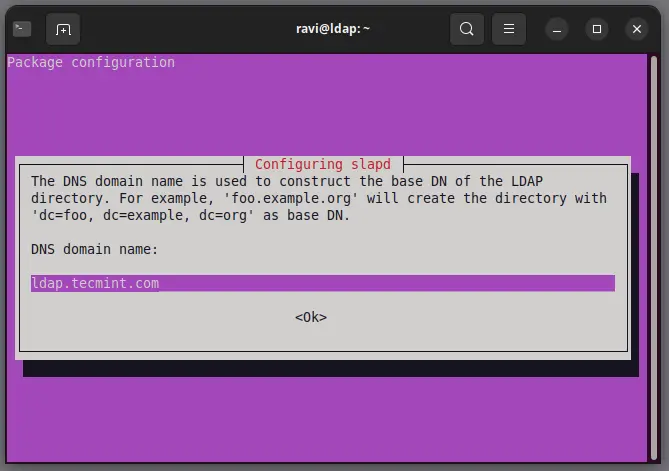
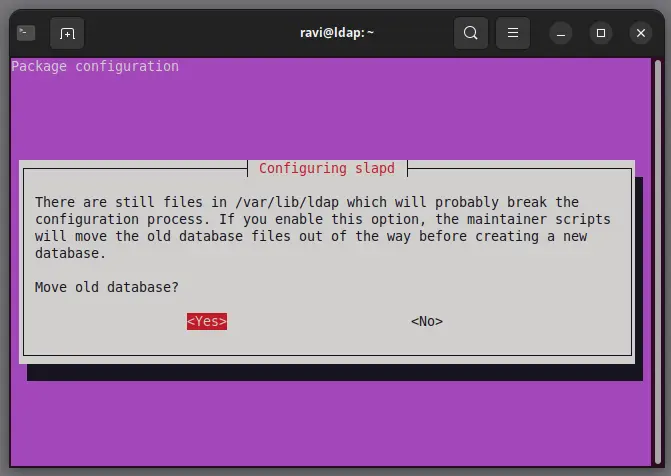
During the configuration of OpenLDAP using the dpkg-reconfigure slapd command, you will encounter several prompts that require specific inputs.
Here’s a brief explanation of each question and the recommended responses:
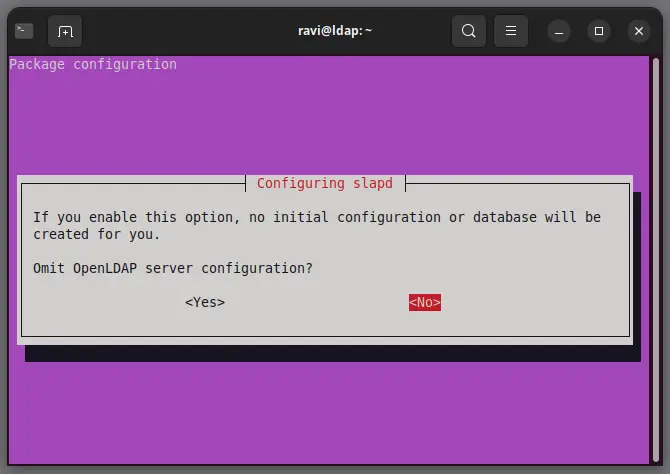
Omit OpenLDAP Server Configuration, which allows you to configure the server settings. Selecting “No” ensures that you can set up the LDAP server according to your requirements.
The DNS Domain Name is the domain name for your LDAP server, which forms part of the base DN (Distinguished Name), which is essential for structuring your LDAP directory and must be properly configured to ensure correct operation.
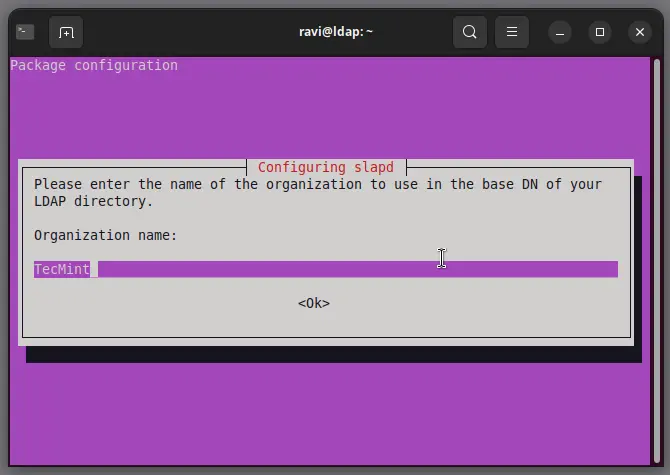
The Organization Name field is used to identify your organization within the LDAP directory, which is helpful in organizing entries and can be any name that represents your organization.
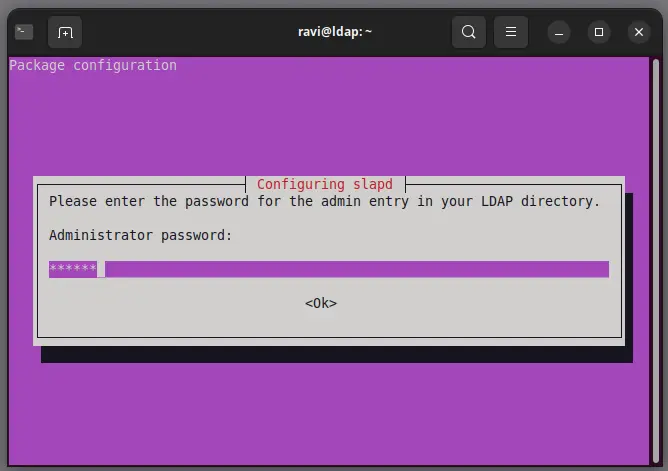
The Administrator Password is critical as it grants administrative access to the LDAP directory. Ensure that it is secure and memorable, as you will need it for future administrative tasks.
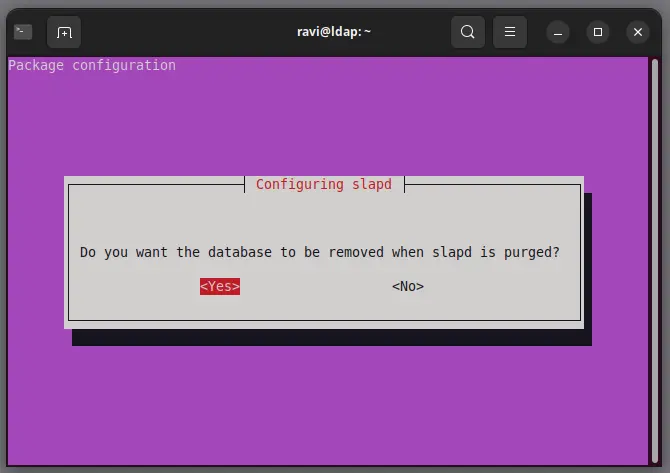
The option Remove database when slapd is purged means, your data will not be deleted automatically, which is useful if you plan to reinstall or upgrade without losing your existing directory data.
The Move old database option allows the installer to move any existing database files to a new location, ensuring a clean setup for your new configuration.
After completing these prompts, OpenLDAP will be configured.
Step 4: Install and Configure phpLDAPadmin
Now, install phpLDAPadmin, which provides a web interface to manage your OpenLDAP server.
sudo apt install phpldapadmin -y
After installing phpLDAPadmin, you need to configure it to connect to your OpenLDAP server.
sudo nano /etc/phpldapadmin/config.php
Find the following line and change it to your OpenLDAP server (usually localhost).
$servers->setValue('server','host','localhost');
Set the admin user by finding this line:
$servers->setValue('login','auth_type','cookie');
Change it to:
$servers->setValue('login','auth_type','session');
Set the base DN by finding the line that starts with:
$servers->setValue('base','dc=example,dc=com');
Replace it with your domain name:
$servers->setValue('base','dc=yourdomain,dc=com');
Step 5: Configure Apache for phpLDAPadmin
You need to configure Apache to serve phpLDAPadmin.
sudo nano /etc/apache2/conf-available/phpldapadmin.conf
Find the following line and make sure it is uncommented (remove the # at the beginning if present).
Alias /phpldapadmin /usr/share/phpldapadmin
Next, add the following lines to allow access to phpLDAPadmin:
<Directory /usr/share/phpldapadmin/htdocs/>
    Options Indexes FollowSymLinks
    AllowOverride All
    Require all granted
</Directory>
Enable the phpLDAPadmin configuration and restart Apache for the changes to take effect:
sudo a2enconf phpldapadmin
sudo systemctl restart apache2
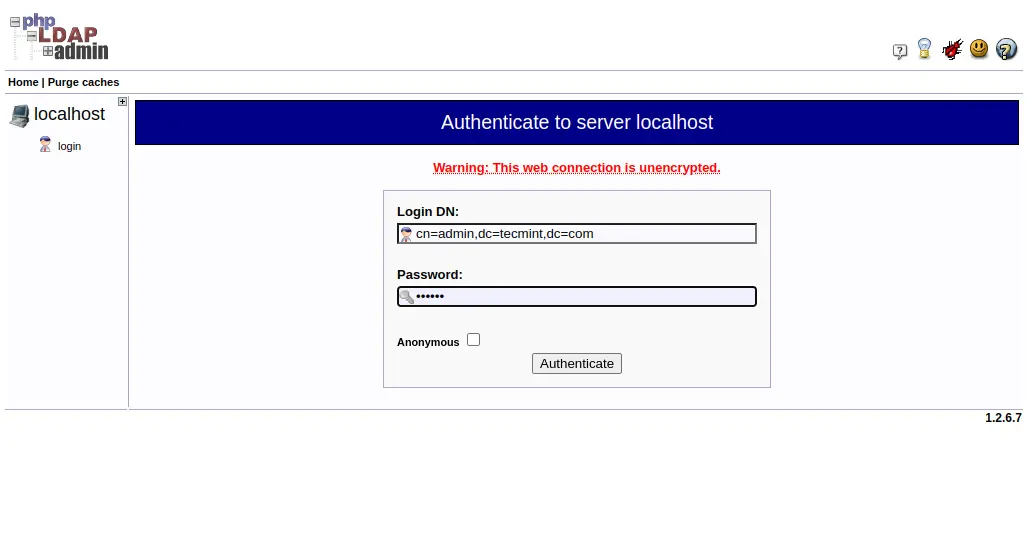
Now that everything is set up, you can access phpLDAPadmin through your web browser.
http://your-server-ip/phpldapadmin
You will be prompted to log in using the following credentials.
Login DN: cn=admin,dc=yourdomain,dc=com
Password: admin password
Conclusion
Congratulations! You have successfully installed OpenLDAP with phpLDAPadmin on Ubuntu. You can now manage your LDAP directory easily through the phpLDAPadmin web interface.
If you have any questions or encounter any issues, feel free to ask!