
Fail2ban is a powerful Python-based security tool that helps protect Linux systems from brute-force attacks by blocking IP addresses that attempt to log in with incorrect credentials.
It monitors log files for failed login attempts and other suspicious activities. When it detects such activities, it bans the offending IP addresses by modifying firewall rules.
This article will explore how to install and use Fail2ban on Ubuntu 24.04 to safeguard your system from these attacks.
Installing Fail2ban on Ubuntu 24.04
To install Fail2ban on Ubuntu 24.04, you need to update your system package list by running the following apt command.
sudo apt update
Next, install Fail2ban using the following command.
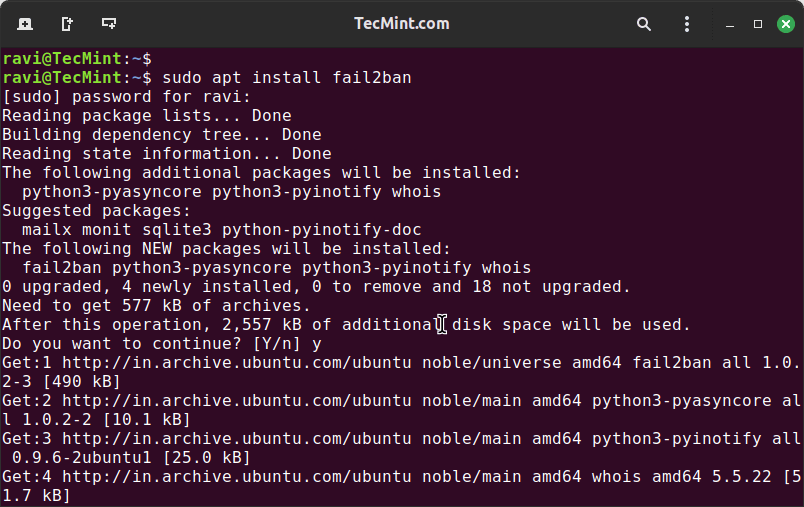
sudo apt install fail2ban
After installation, verify that Fail2ban is installed correctly by checking its version.
fail2ban-client --version

Fail2Ban v1.0.2
Configuring Fail2ban on Ubuntu 24.04
The /etc/fail2ban directory is the primary location for Fail2Ban configuration files and logs. This directory contains several subdirectories and files that are essential for Fail2Ban’s functionality.
Here’s a breakdown of the key components:
action.d: This directory contains action scripts that Fail2Ban uses to ban IP addresses. These scripts are specific to the firewall or service being used (e.g.,iptables,ufw,nftables).filter.d: This directory contains filter configuration files that define how Fail2Ban identifies and bans IP addresses. These filters are specific to the service being monitored (e.g.,SSH,HTTP,FTP).jail.d: This directory contains jail configuration files that define the specific services Fail2Ban monitors and the rules for banning IP addresses.paths-arch.conf,paths-common.conf,paths-debian.conf,paths-opensuse.conf: These files contain paths specific to different Linux distributions.fail2ban.conf: This is the main configuration file for Fail2Ban, which contains global settings and options.jail.conf: This file contains the default jail configurations for various services.jail.local: This file is used to override the default jail configurations. It is recommended to create ajail.localfile to ease upgrades and make customizations.fail2ban.log: This is the main log file for Fail2Ban, where it records its actions and events.
Fail2ban comes with default configuration files that you can customize according to your needs. The main configuration file is located at /etc/fail2ban/jail.conf.
However, it is recommended to create a local copy (/etc/fail2ban/jail.local) to prevent your changes from being overwritten during updates.
sudo cp /etc/fail2ban/jail.conf /etc/fail2ban/jail.local
Open the local configuration file in a nano text editor.
sudo nano /etc/fail2ban/jail.local
In the configuration file, locate the [ssh] section and uncomment the lines and modify values to adjust Fail2ban’s behavior as shown.
maxretry: This defines the maximum number of failed login attempts before an IP address is banned.findtime: This sets the time window within which the maxretry attempts must occur to trigger a ban.bantime: This defines the duration for which an IP address is banned after exceeding the maxretry attempt.
Example configuration (modify as needed):
[ssh]
enabled = true
maxretry = 3
findtime = 10
bantime = 4h
In this example, the jail is enabled, the maximum retry attempts are set to 3 within a 10-second window, and banned IPs are blocked for 4 hours.
After making your desired changes, save the file and restart the Fail2ban service for the new configuration to take effect.
sudo systemctl restart fail2ban
sudo systemctl enable fail2ban
sudo systemctl status fail2ban
Testing Fail2ban in Ubuntu 24.04
To test Fail2ban, you can simulate a brute-force attack on your system, which involves intentionally triggering the conditions that Fail2ban monitors for, such as multiple failed login attempts.
First log in to another Linux machine, run the following command to simulate failed login attempts, make sure to replace 192.168.122.100 with your server’s IP address.
for i in {1..6}; do ssh [email protected]; done
After making the failed login attempts, check the Fail2ban logs to see if the IP address has been banned.
sudo tail -f /var/log/fail2ban.log

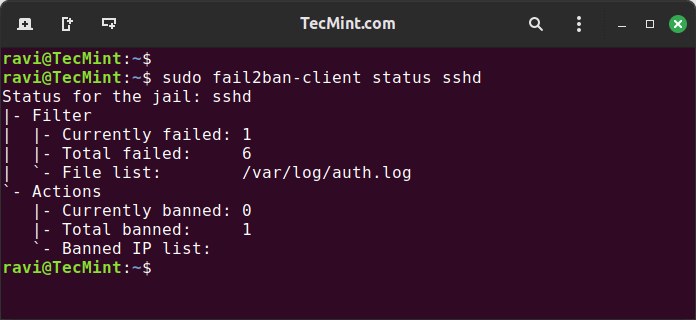
To verify the status of the SSH jail and check if the IP address has been banned.
sudo fail2ban-client status sshd
If you need to unban the IP address, use the following command.
sudo fail2ban-client set sshd unbanip 192.168.122.1
Conclusion
Fail2ban is a powerful tool to protect your Ubuntu 24.04 server from brute-force attacks. By following the steps outlined in this guide, you can install, configure, and use Fail2ban to significantly reduce the risk of unauthorized access to your server, ensuring a more secure environment for your data and applications.