Etherpad Lite is a web-based, free document editing tool that enables groups of users to collaboratively work on a document in real-time, similar to a multiplayer editor that runs in a web browser.
Etherpad allows authors to edit simultaneously, seeing each other’s edits in real-time, with the capability to display each author’s text in their own colors.
Etherpad Key Features
- Multiple users can edit a document simultaneously while viewing changes in real-time.
- A chat box in the sidebar allows authors to communicate while editing, enhancing collaboration.
- It is built with JavaScript on both the server and client sides, making it easy for developers to maintain and add new features.
- A well-documented HTTP API provides access to all data, making it easy to integrate it into other applications.
- It supports importing and exporting documents in various formats (HTML, Open Document, Microsoft Word, PDF, and plain text) and offers translations to accommodate local languages.
- The “time slider” feature lets users explore the history of document revisions.
For your reference, you can check out a demo of Etherpad Lite at the link: Watch EtherPad Demo
In this tutorial, we will walk through the installation and configuration of Etherpad Lite on RHEL-based and Debian-based distributions.
Step 1: Install Libraries and Development Packages
First, we need to install a few required libraries and development tools by running the following commands, either as root or by adding sudo at the beginning of each command.
On RHEL-based distributions:
sudo yum install gzip git curl python3 openssl-devel && yum groupinstall "Development Tools"
On Debian-based distributions:
sudo apt install gzip git curl python3 libssl-dev pkg-config build-essential
Step 2: Install Node.js
You need to download and install the latest stable version of Node.js by running the following commands.
curl -o- https://raw.githubusercontent.com/nvm-sh/nvm/v0.40.0/install.sh | bash
nvm install 23
node -v
npm -v
Step 3: Download and Install Etherpad Lite
Create a separate user called “etherpad” to run the Etherpad application independently.
sudo useradd --create-home etherpad
Switch to the “etherpad” user and download the latest stable version of Etherpad Lite using the Git repository.
su - etherpad
cd /home/etherpad
git clone https://github.com/ether/etherpad-lite.git
Change to the Etherpad Lite directory and execute the run.sh script:
cd etherpad-lite/bin
./run.sh
You should see output indicating that Etherpad is running and accessible at http://0.0.0.0:9001/.
Step 4: Access and Create New Pads in Etherpad Lite
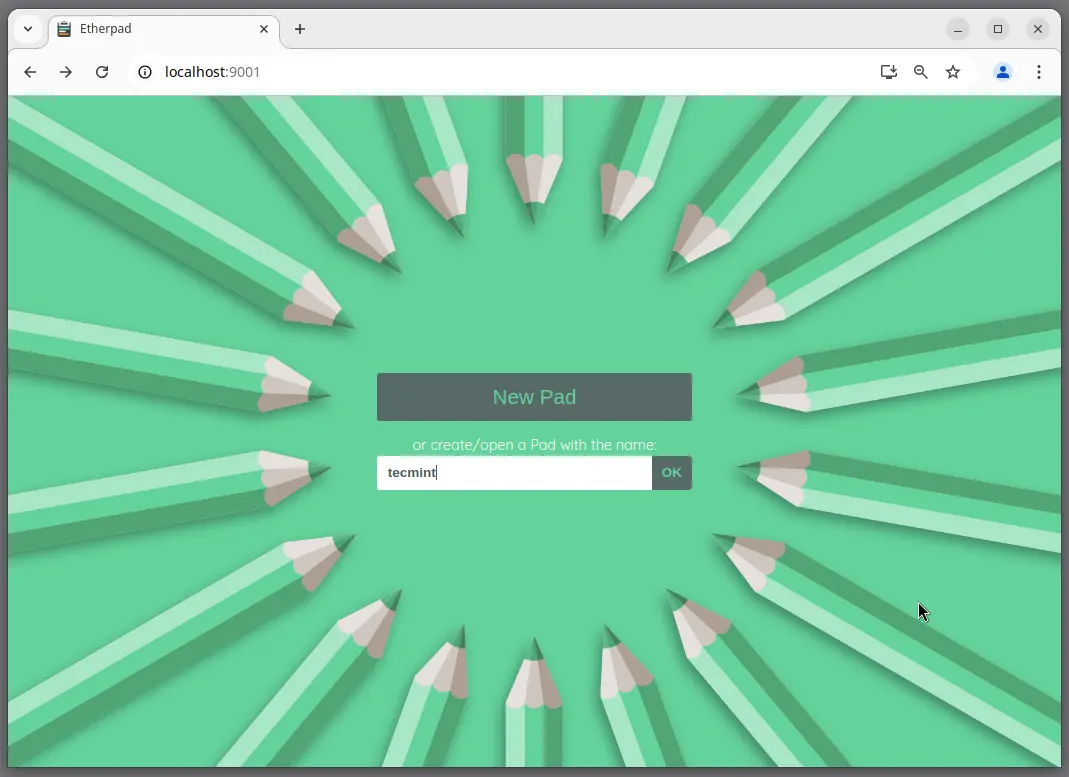
Open your web browser and navigate to http://localhost:9001 or http://your-ip-address:9001.
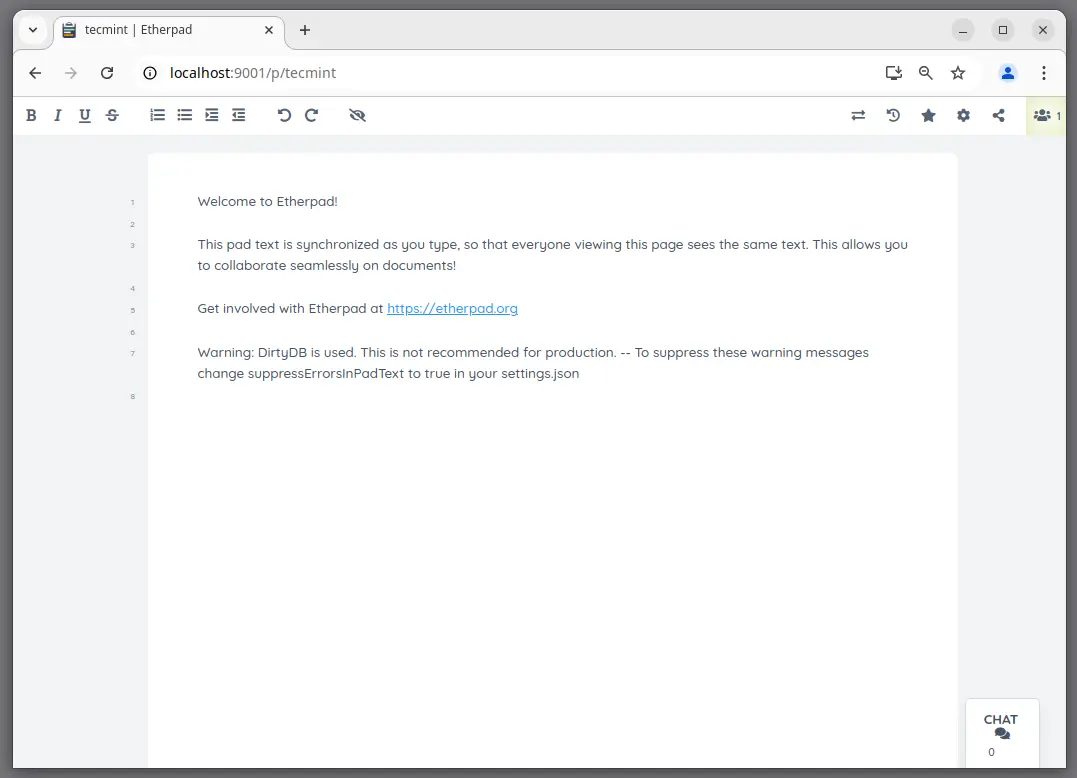
To create a new document, enter a name for the Pad. For instance, creating a Pad named “tecmint” will give you the URL http://your-ip-address:9001/p/tecmint. You can share this URL with collaborators, and they can join the editing session in real-time.
Step 5: Using Etherpad Lite with MySQL Backend
By default, Etherpad stores documents in a flat-file database. For better performance, it is recommended to use MySQL as a backend.
On RHEL-based systems:
sudo yum install mysql-server
sudo systemctl start mysqld
sudo systemctl enable mysqld
On Debian-based systems:
sudo apt install mysql-server
sudo systemctl start mysql
sudo systemctl enable mysql
Connect to the MySQL shell and create the Etherpad database:
mysql -u root -p
CREATE USER 'etherpad'@'localhost' IDENTIFIED BY 'your_password';
GRANT ALL PRIVILEGES ON etherpad_lite.* TO 'etherpad'@'localhost';
FLUSH PRIVILEGES;
EXIT;
Switch back to the “etherpad” user and modify the settings.json file:
su - etherpad
cd /home/etherpad/etherpad-lite
cp settings.json.template settings.json
nano settings.json
Update the database configuration:
"dbType": "mysql",
"dbSettings": {
  "user": "etherpad",
  "host": "localhost",
  "password": "your-password",
  "database": "etherpad_lite"
},
Now install dependencies and run Etherpad again to initialize the MySQL backend:
./bin/installDeps.sh
./bin/run.sh
Finally, keep in mind that the Etherpad application will terminate its process when you close the terminal session. You can use the systemd service to manage the Etherpad application more easily, including starting, stopping, and enabling it to run at boot.
Step 6: Create Etherpad Systemd Service File
Now login as a regular sudo user and create a new service file in the systemd directory:
sudo nano /etc/systemd/system/etherpad.service
Add the following content to the service file:
[Unit]
Description=Etherpad Lite
After=network.target

[Service]
Type=simple
User=etherpad
WorkingDirectory=/home/etherpad/etherpad-lite
ExecStart=/usr/bin/node /home/etherpad/etherpad-lite/node/node server.js
Restart=on-failure

[Install]
WantedBy=multi-user.target
Make sure to adjust the ExecStart path if your Node.js installation is in a different location.
After creating the service file, you need to reload systemd to recognize the new service:
sudo systemctl daemon-reload
Now you can start the Etherpad service and enable it to start on boot:
sudo systemctl start etherpad
sudo systemctl enable etherpad
sudo systemctl status etherpad
If everything is configured correctly, you can access Etherpad by navigating to http://your-ip-address:9001 in your web browser.
Conclusion
You’ve successfully installed and configured Etherpad Lite to use MySQL as the backend database. There’s much more to explore and enhance in your Etherpad installation, such as configuring secure access over HTTPS/SSL.
For more information on further configurations, visit the official Etherpad Lite wiki.